
Manage messages
Which actions can you take within the message overview page?
Which actions can you take on messages from the overview page?
Manually Upload Messages
Manual Message Upload lets you upload a single message file to directly from Monitor. You can either upload it for testing or to send it to the receiver.
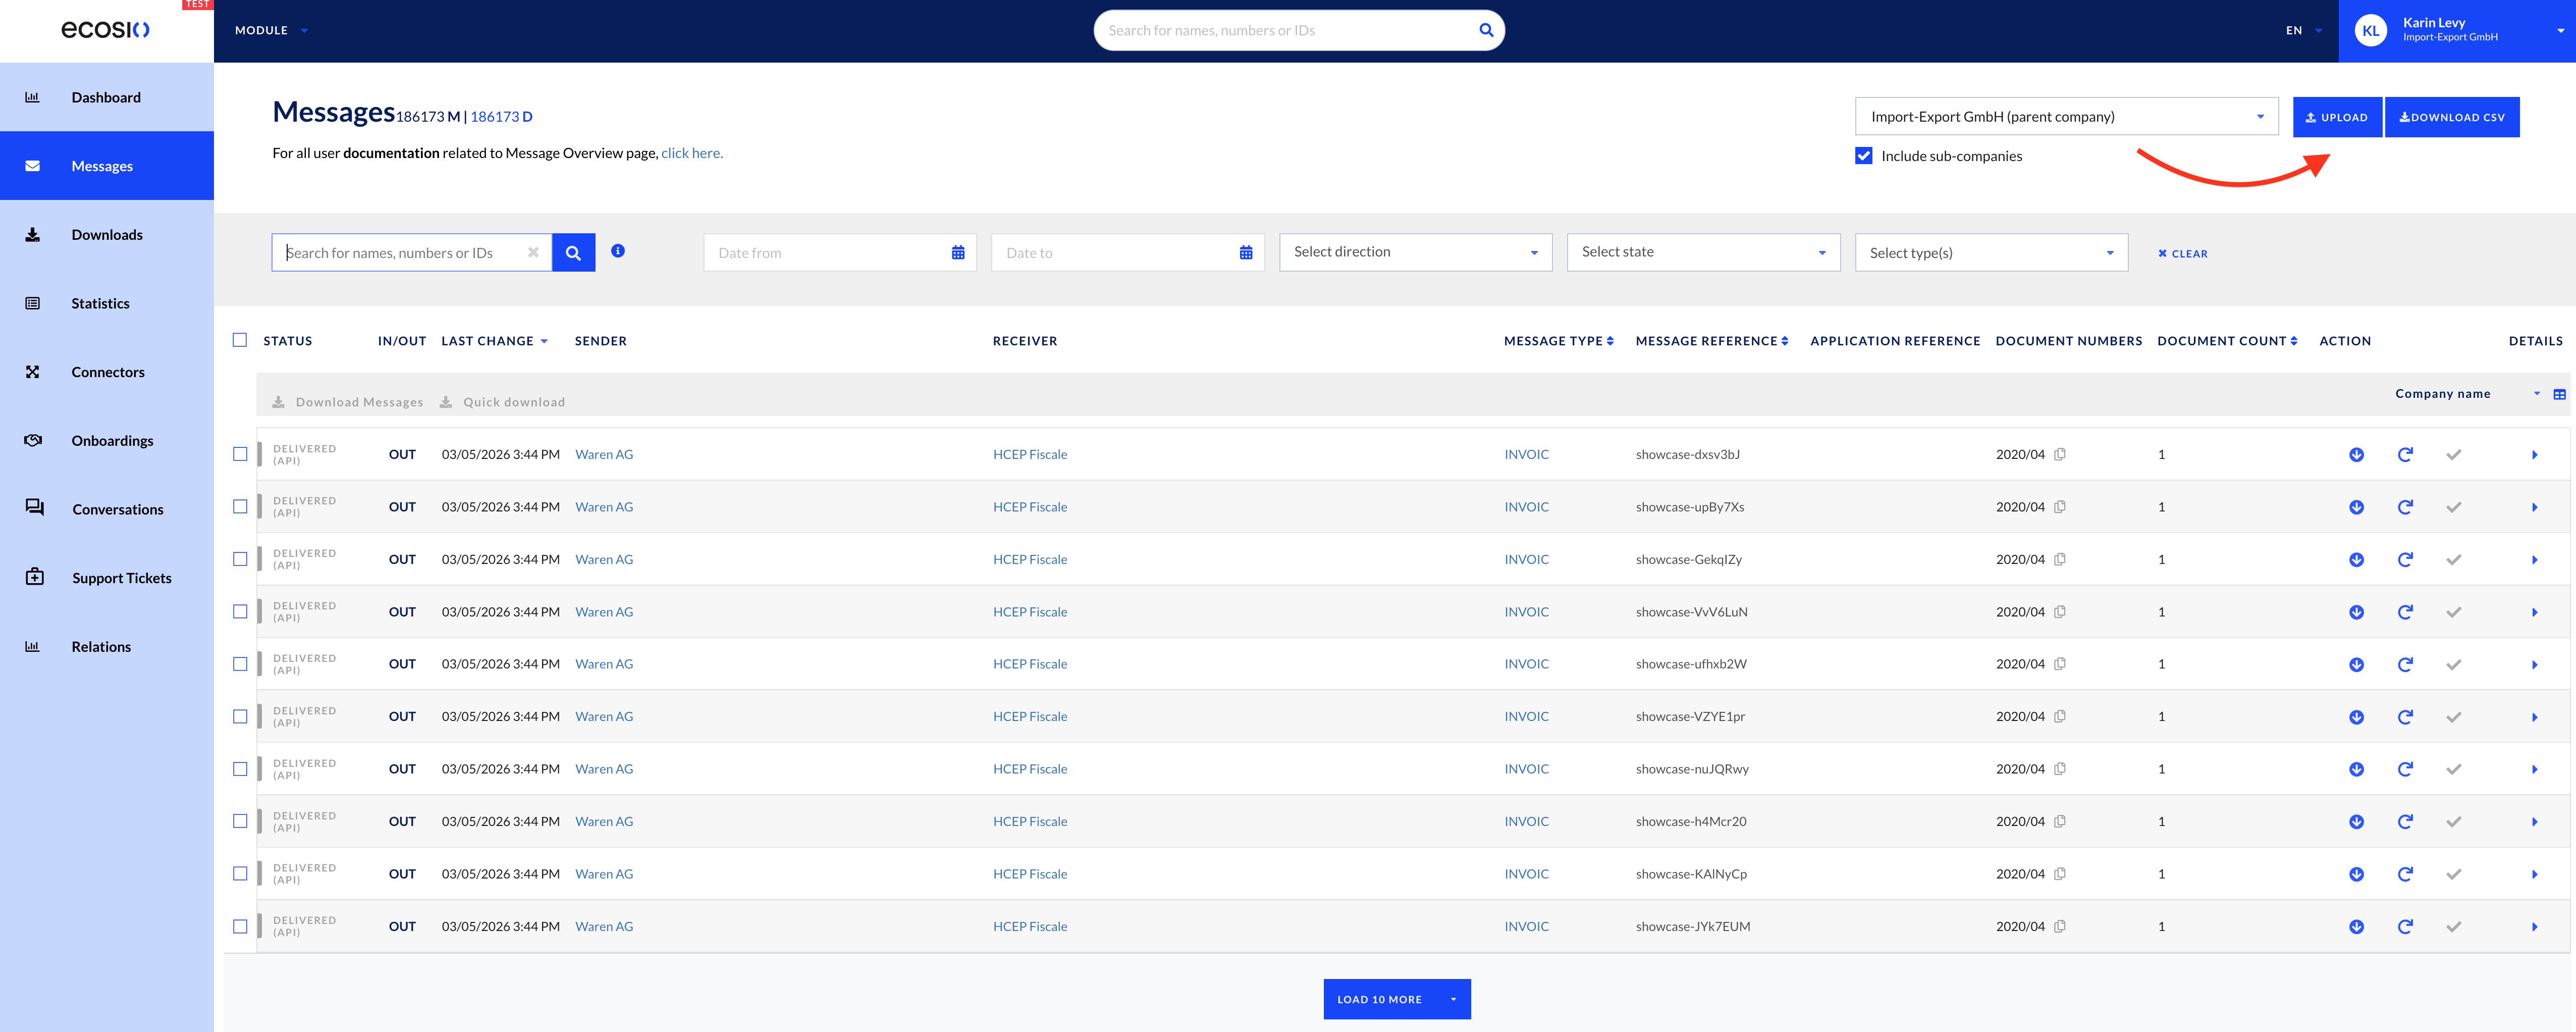
Download Messages
You can download messages in batch by selecting messages from the overview page.
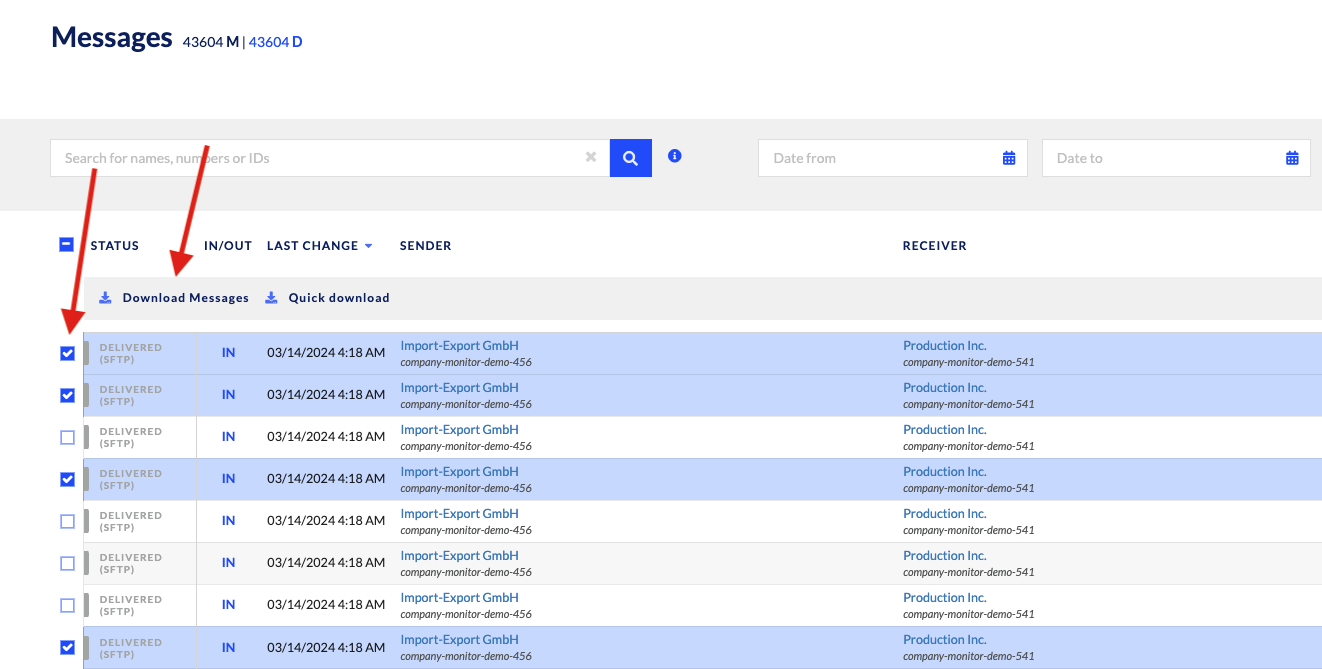
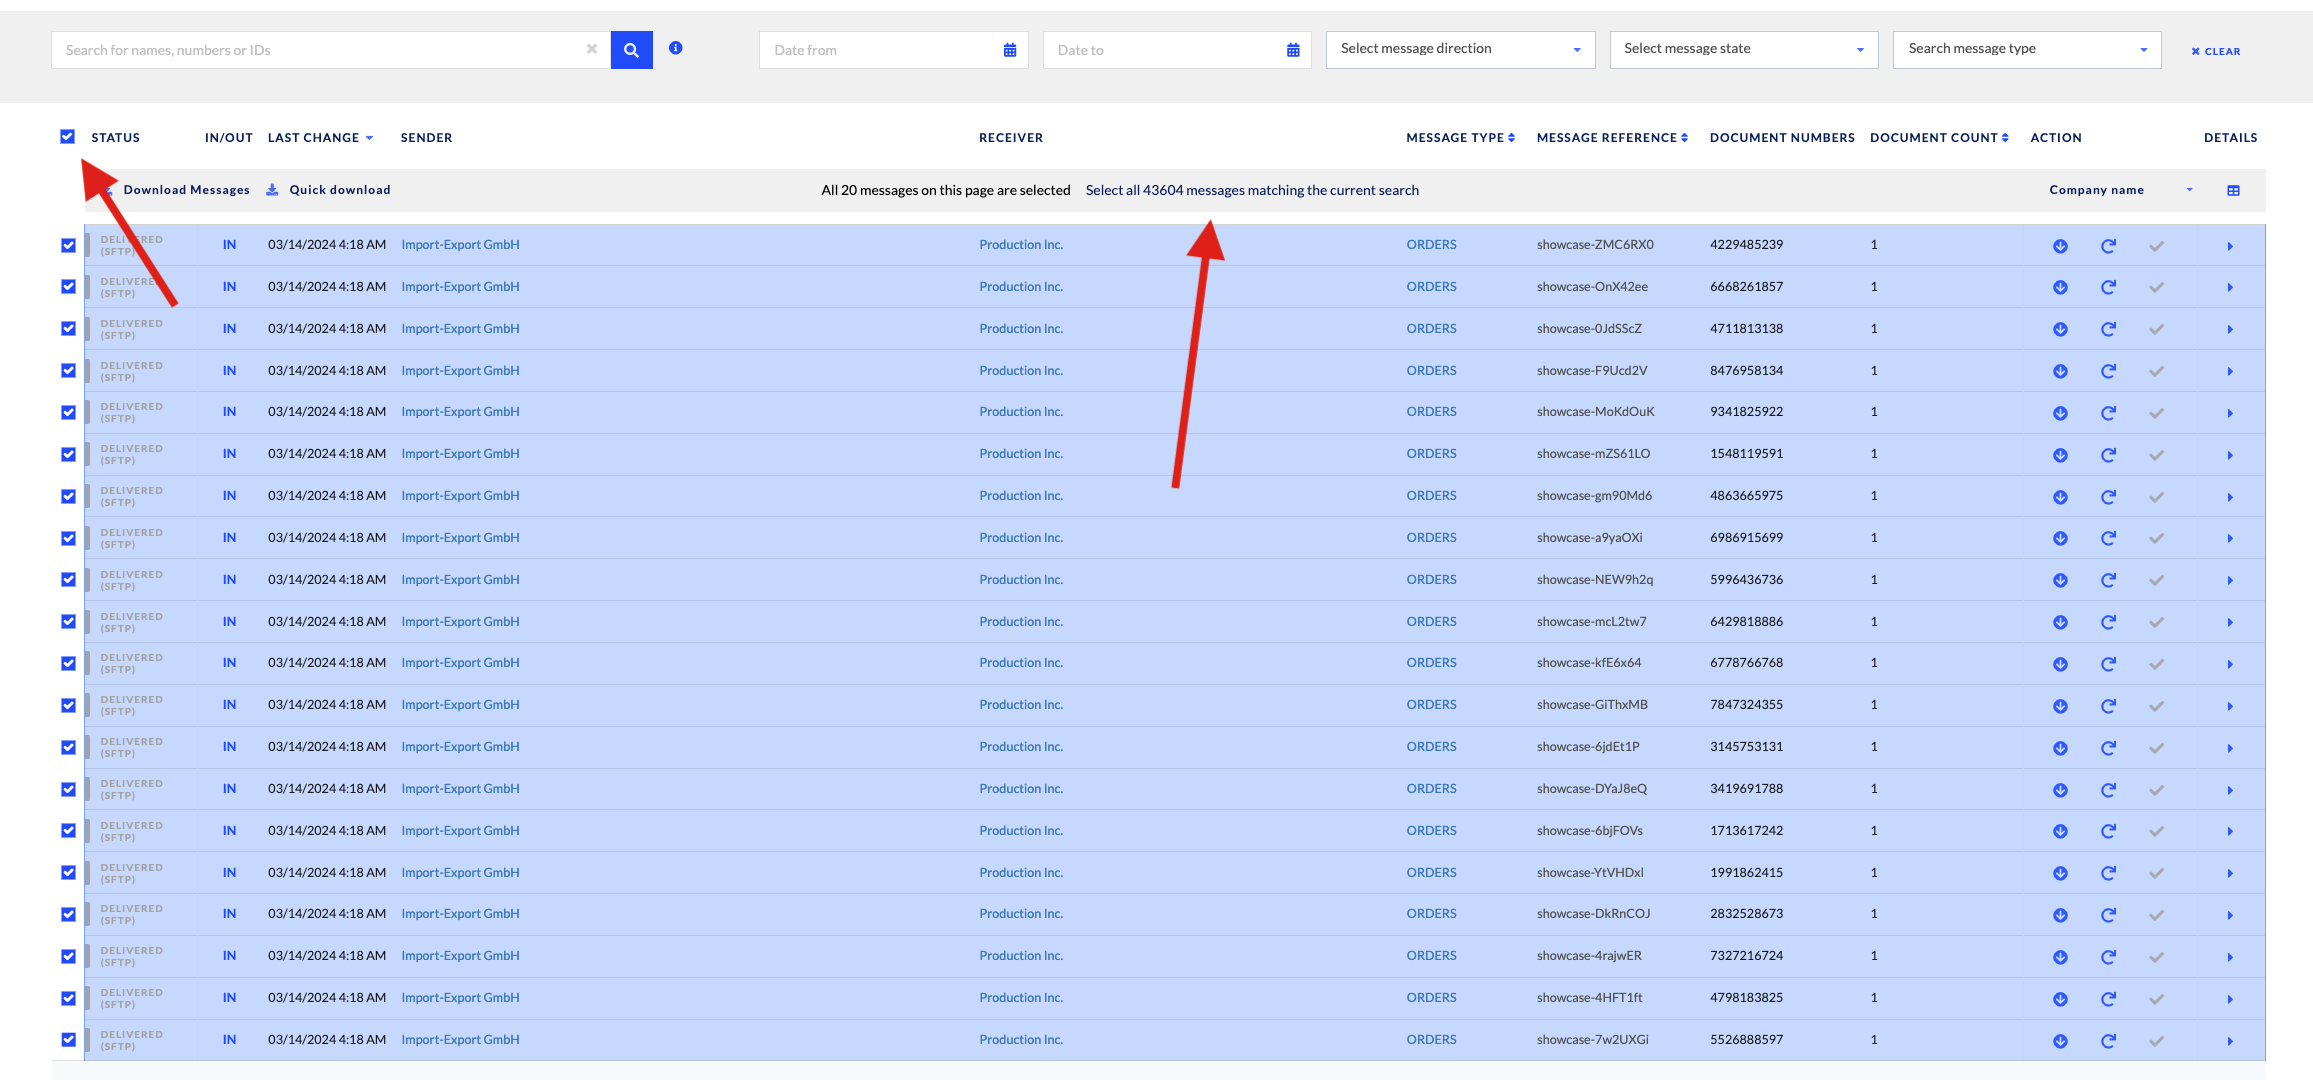
By selecting the tick box next to “STATUS”, you will select/deselect all messages displayed. Additionally, if you’d like all messages to be selected for the current search, the option is available in the middle of the page.
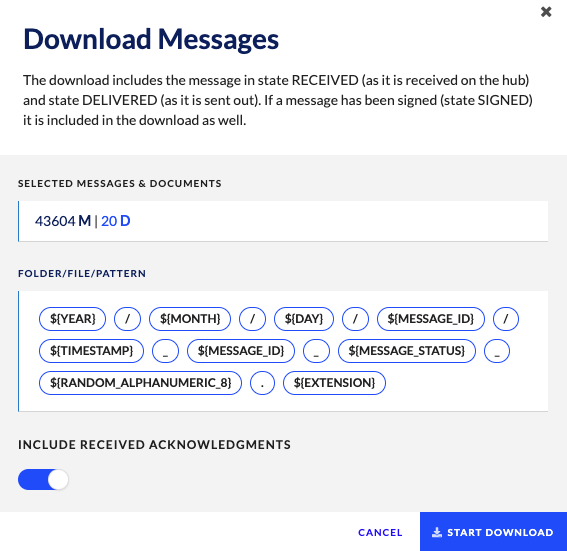
When downloading messages, do note that each downloaded message contains the message in state RECEIVED (as it was received on the hub), state DELIVERED (as it was sent out), and state SIGNED (if applicable).
Additionally, you can adjust the “FOLDER/FILE/PATTERN” structure in the “Advanced” Company settings.
You can include received acknowledgements of messages in each downloaded message as well, although this is optional.
Once the download begins, the selection is also available in the “Downloads” option on the left-hand menu for archiving purposes. For more information, see our documentation on “Downloads” here.
Quick Download
You can also select messages in bulk and select Quick Download.
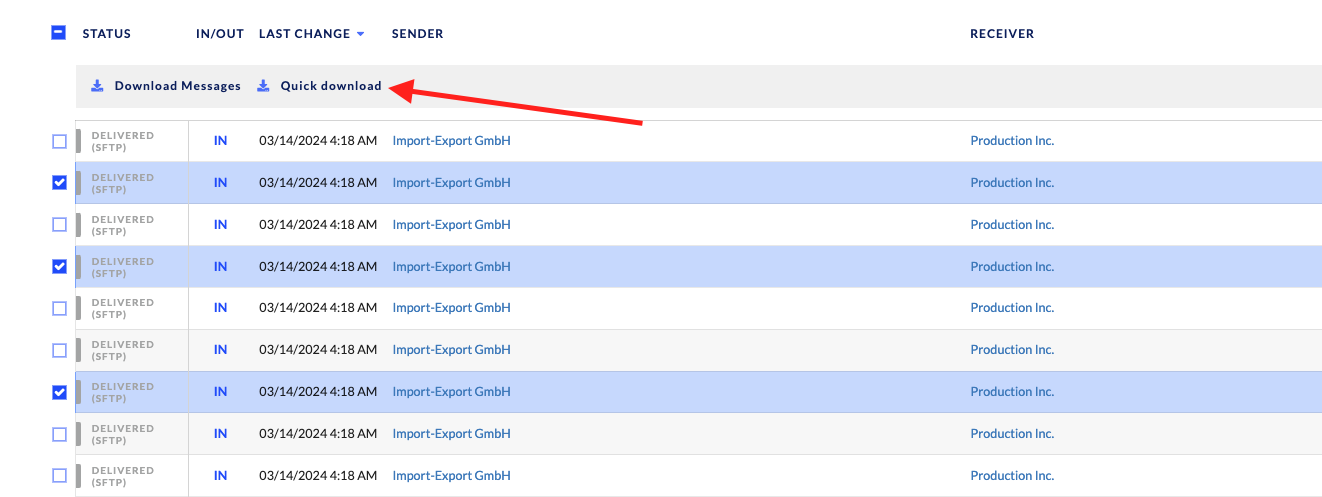
By doing so, two key functionalities are left out compared to the “Download Messages” function:
- Folder/file/pattern
- Including received acknowledgements
The “Quick Download” selection is chosen to get the most raw version of the message contents in order to view them as such.
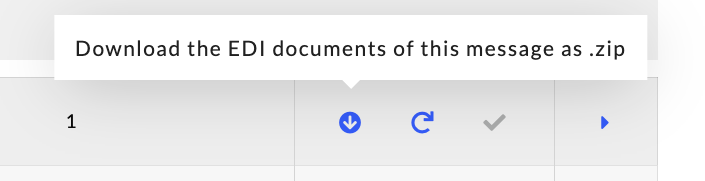
Download Zip of EDI Documents
This option allows for the same functionality as a “Quick Download”, but for 1 message at a time.
Resend and Edit Messages
Users can resend messages directly inside the Monitor.
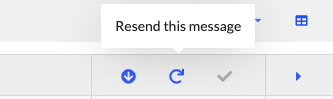
In order to do this, however, the ecosio Onboarding & Operations team must configure this for you, and you must have either “Company Admin” or “Messaging Operations” permissions (this also applies to ERP Partners).
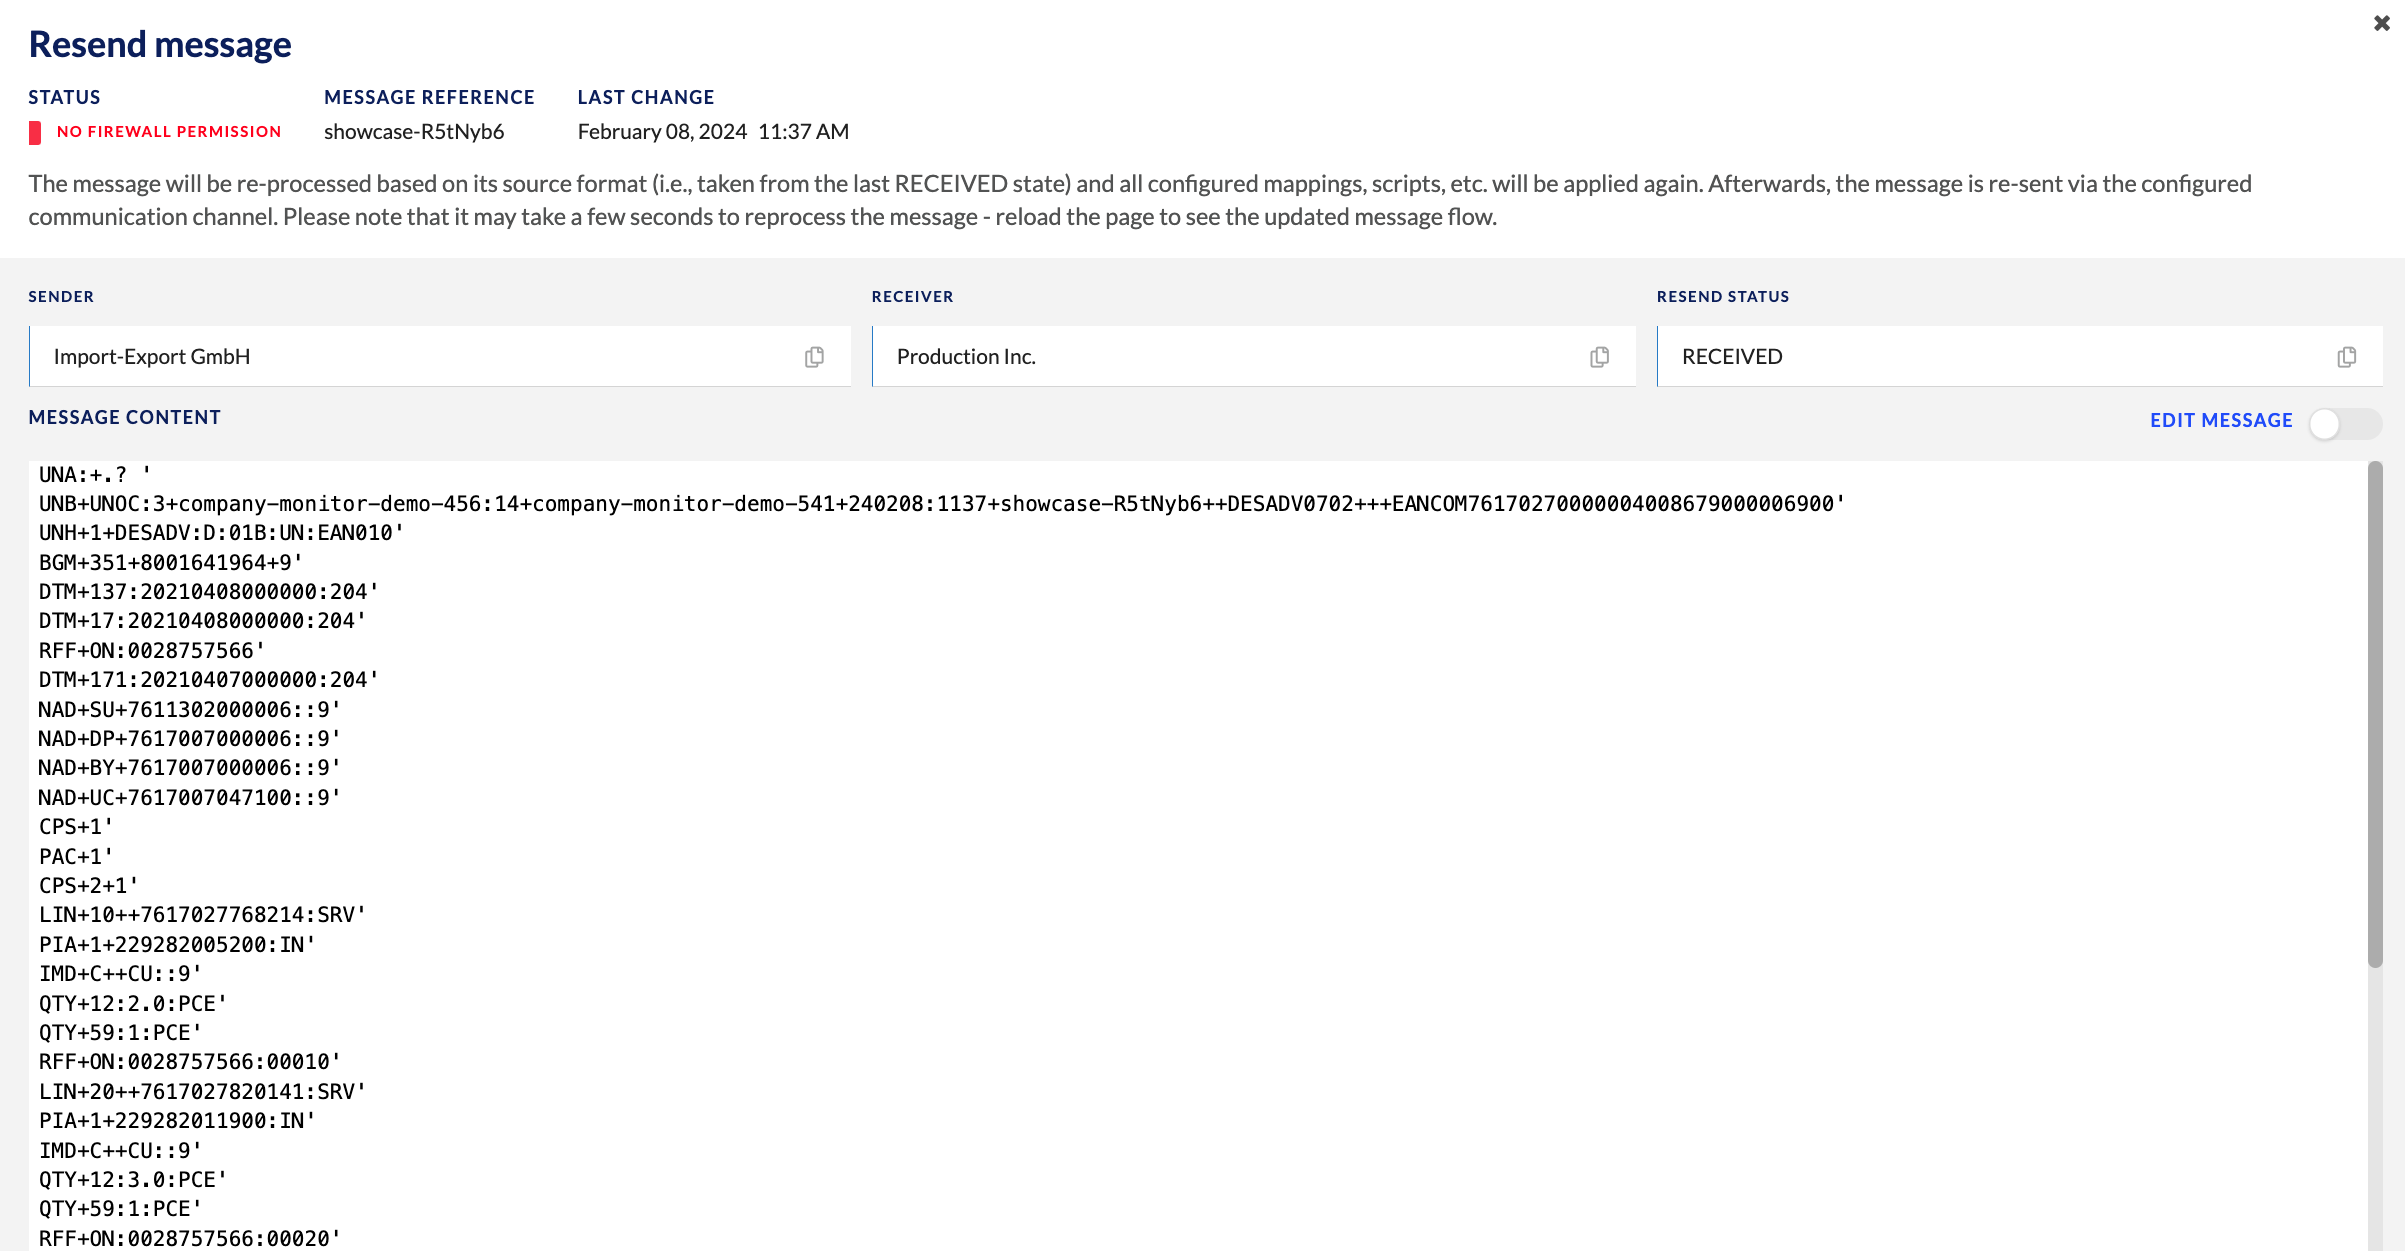
Additionally, a few points to consider:
- Messages must have at least one “RECEIVED” state.
- If a message is resent, that message is locked from any action by any other Monitor user for 6 hours. The original user who resent the message can take action on the message during that 6-hour window.
- Duplicate message checks during this time will not be take place during resending, so be mindful of this when resending.
- Resending certain document types (e.g. ORDER) can result in being processed twice for the receiver if the messaged was successfully processed before. Communication on specific messages before resending can be helpful in avoiding such mistakes from happening
- If you with a Partner role access a customer’s view and navigate to the Message Overview page, the Resend button is displayed for all messages if you have the “Messaging Operations” permission; however, if the customer being viewed does not have the "Resend Operation" permission enabled for messages, clicking the Resend button will result in an error being displayed.
Finally, messages can even be edited directly inside the Monitor if this is configured by the Onboarding & Operations team on your behalf. In order to do so, you’ll have to turn on the “EDIT MESSAGE” toggle.

Mark Messages as Cleared
You can “handle” messages by marking them as cleared when the state of the message is “Exception (customer)”. In this instance, it means that your company has to take action on the message before it can continue to move through the integration hub. Additionally, users must have “Messaging Operations” permissions in order to handle messages.
Show Message Details
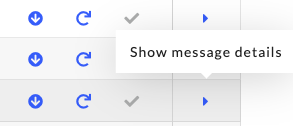
Finally, users can see more information about an individual message by clicking the blue arrow that points to the right-side of the page. By showing message details, the Monitor will provide all information about that individual message as it moves through the integration hub.
Updated 10 days ago