
Manage user settings
User settings are available in order to allow individual users to adjust their own personal settings and preferences within the Monitor.
Introduction
User settings are available in order to allow individual users to adjust their own personal settings and preferences within the Monitor.
You can access user settings in one of two ways:
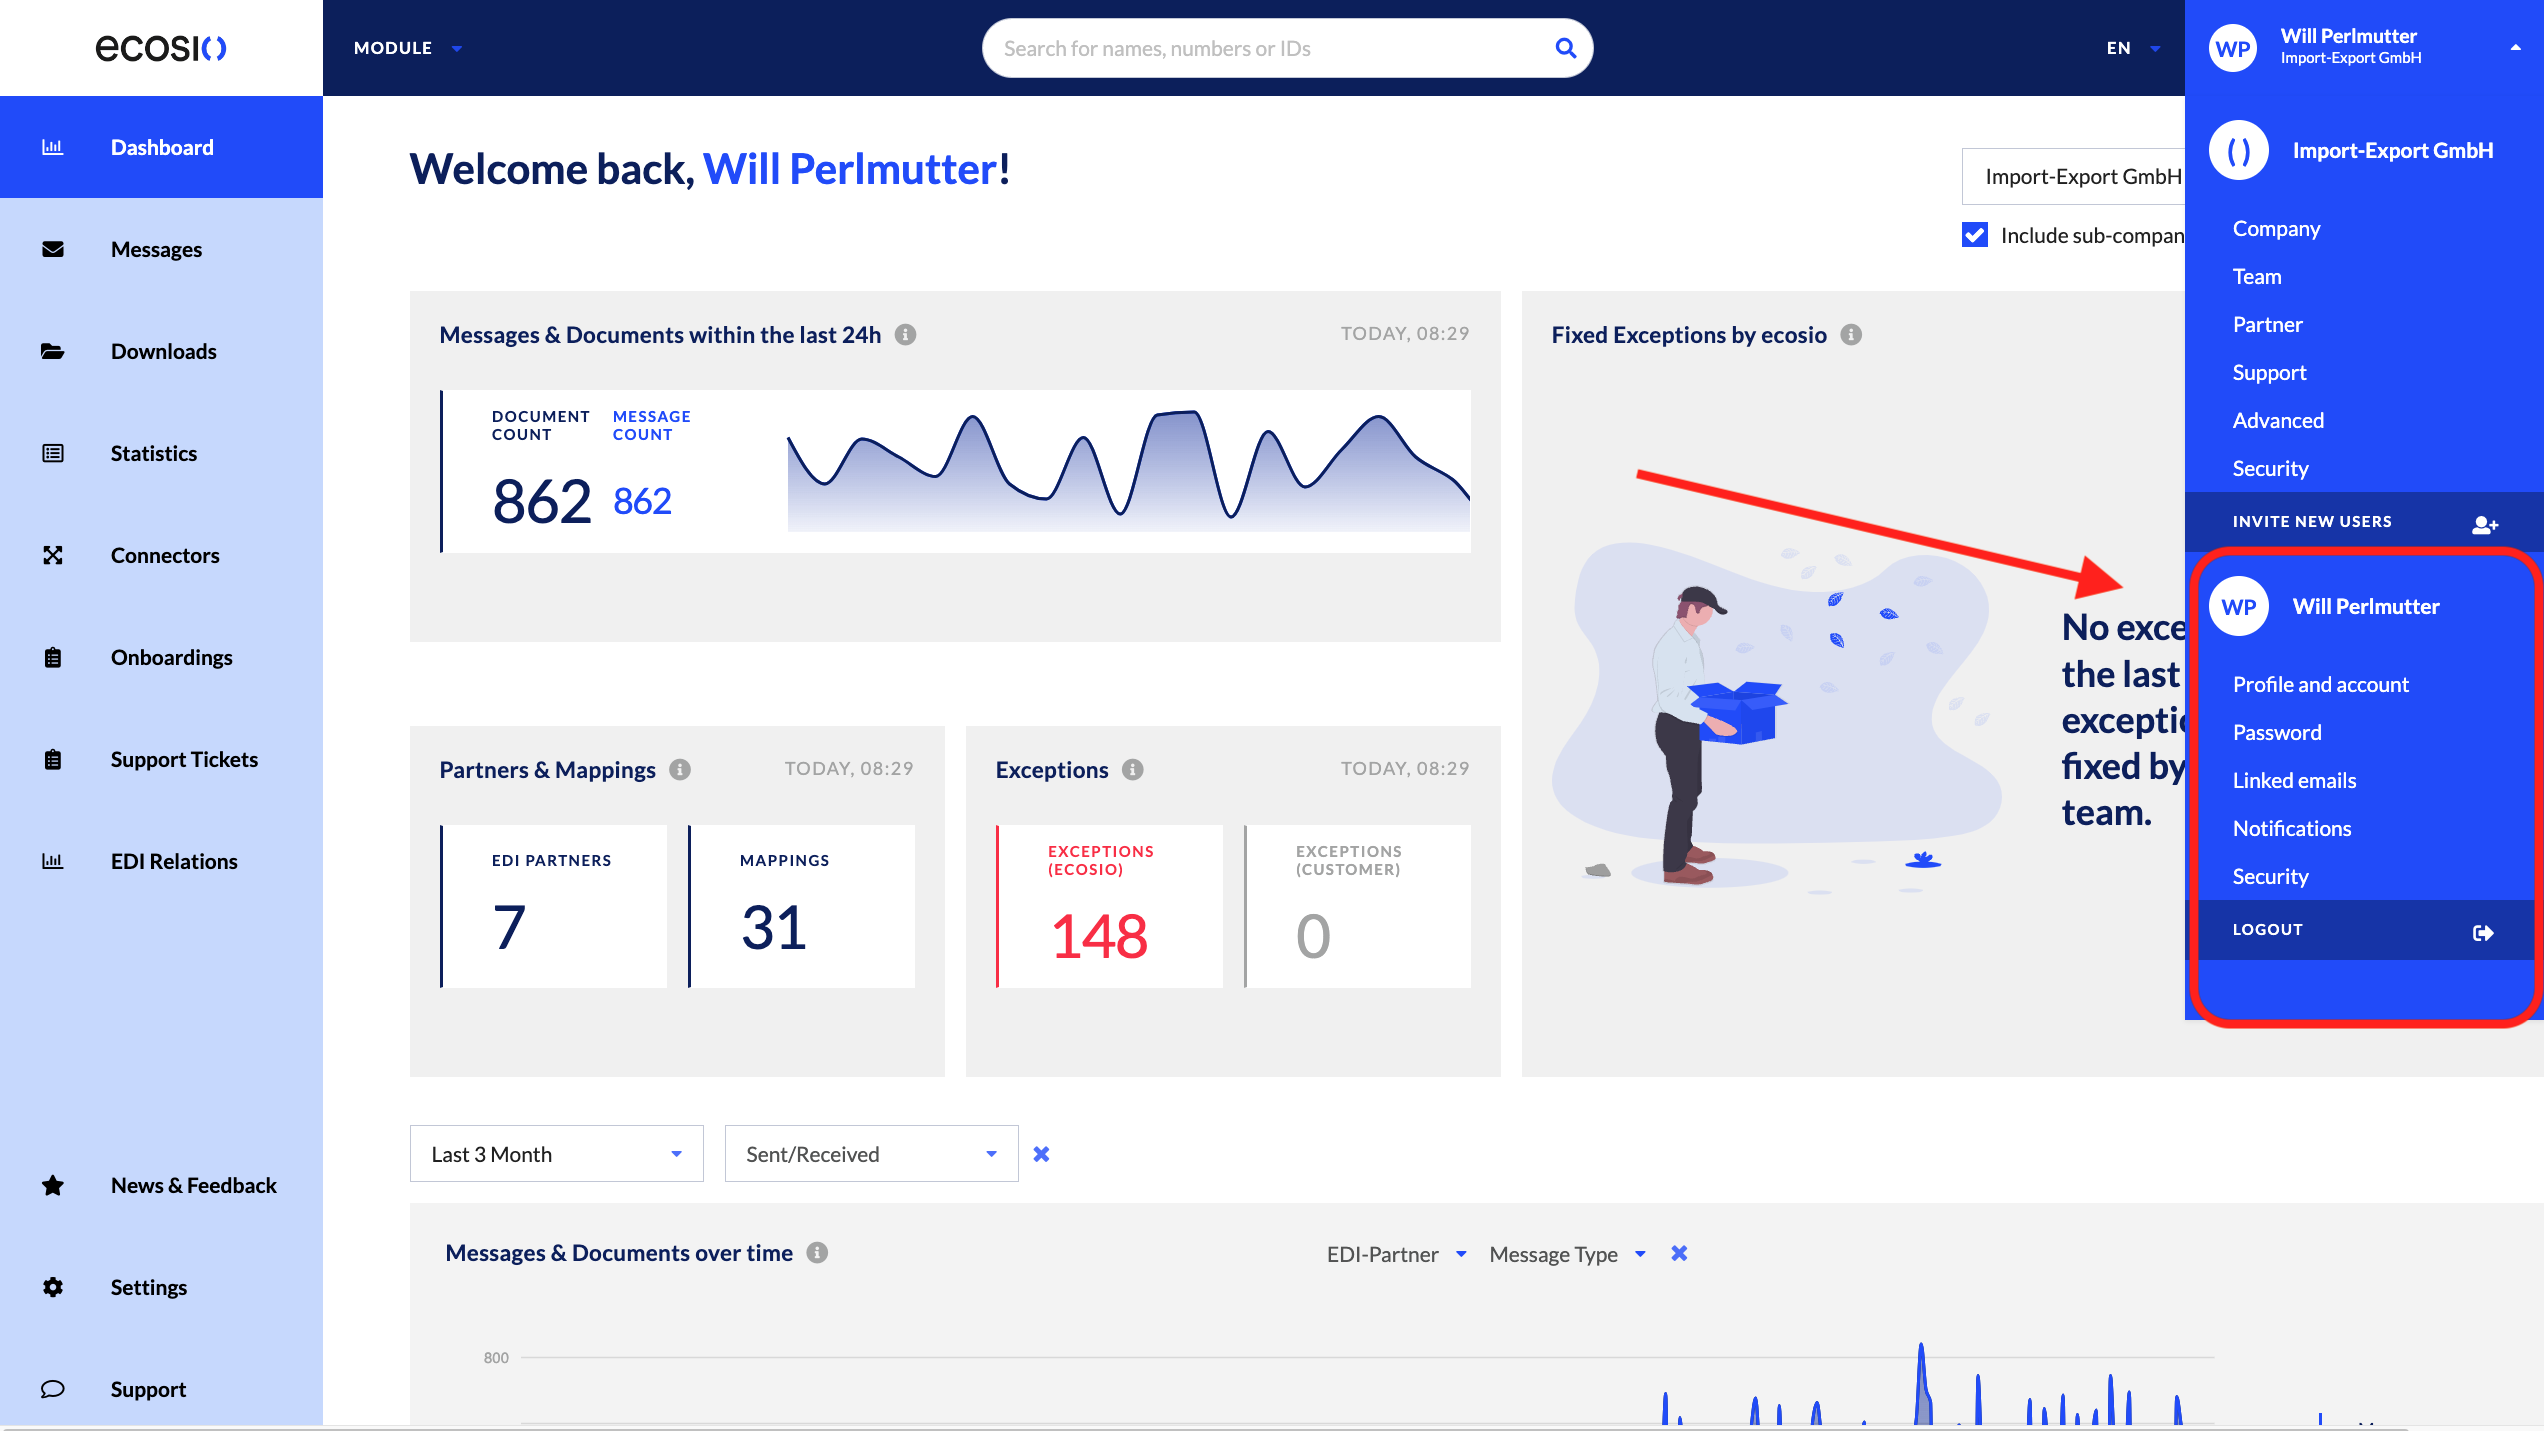
- In the top right-hand side of the Monitor. Upon clicking your user name in the far right, the following settings will expand, where user settings are emphasised below:
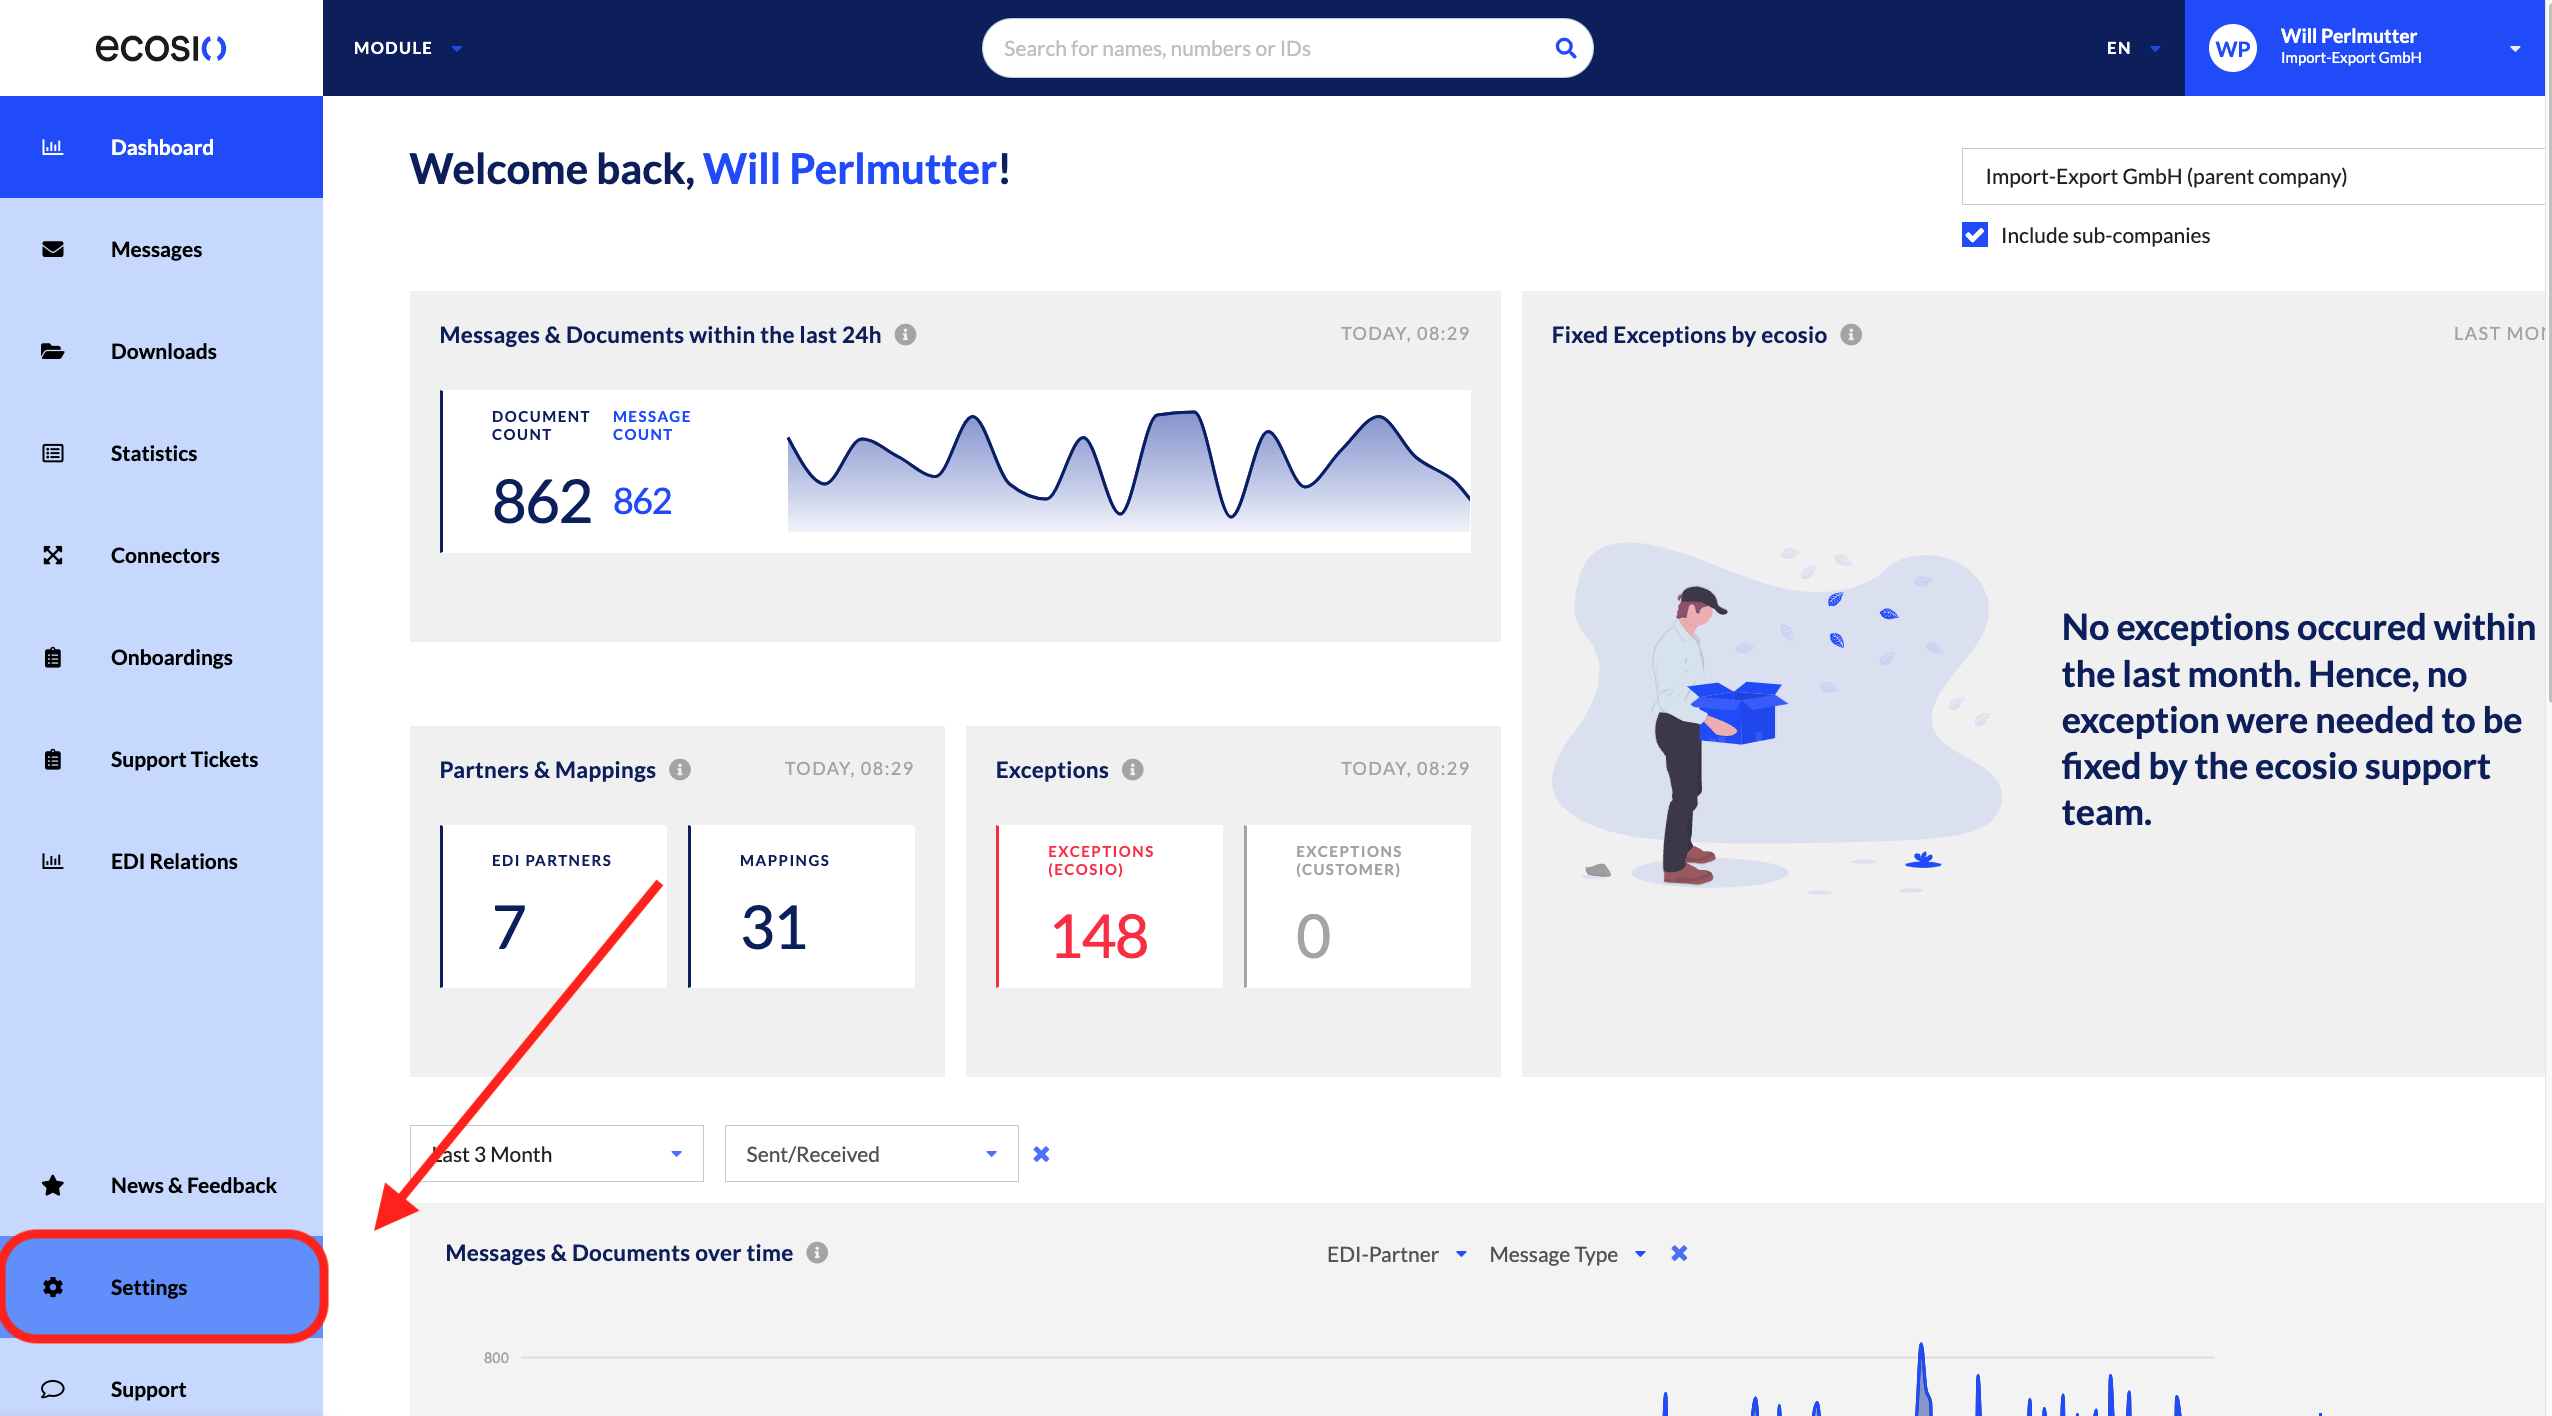
- By clicking the “Settings” button in the bottom left-hand corner of the Monitor:
Prerequisites
Users must have adequate permissions in order to access all settings; otherwise, some of the below-mentioned pages will be unavailable to you. Notably, the Password and Security tabs will be unavailable to users if they sign in via SAML.
The menu items under User Settings should be visible to all users, regardless of their permissions. An exception here would be The Password and Security tabs which might not be visible if the user can only sign in via SAML.
Step-by-Step Guide
Once you’re in the user settings section of the Monitor, you’ll see the following options on the left-hand side of the screen, as well as in the middle of the screen:
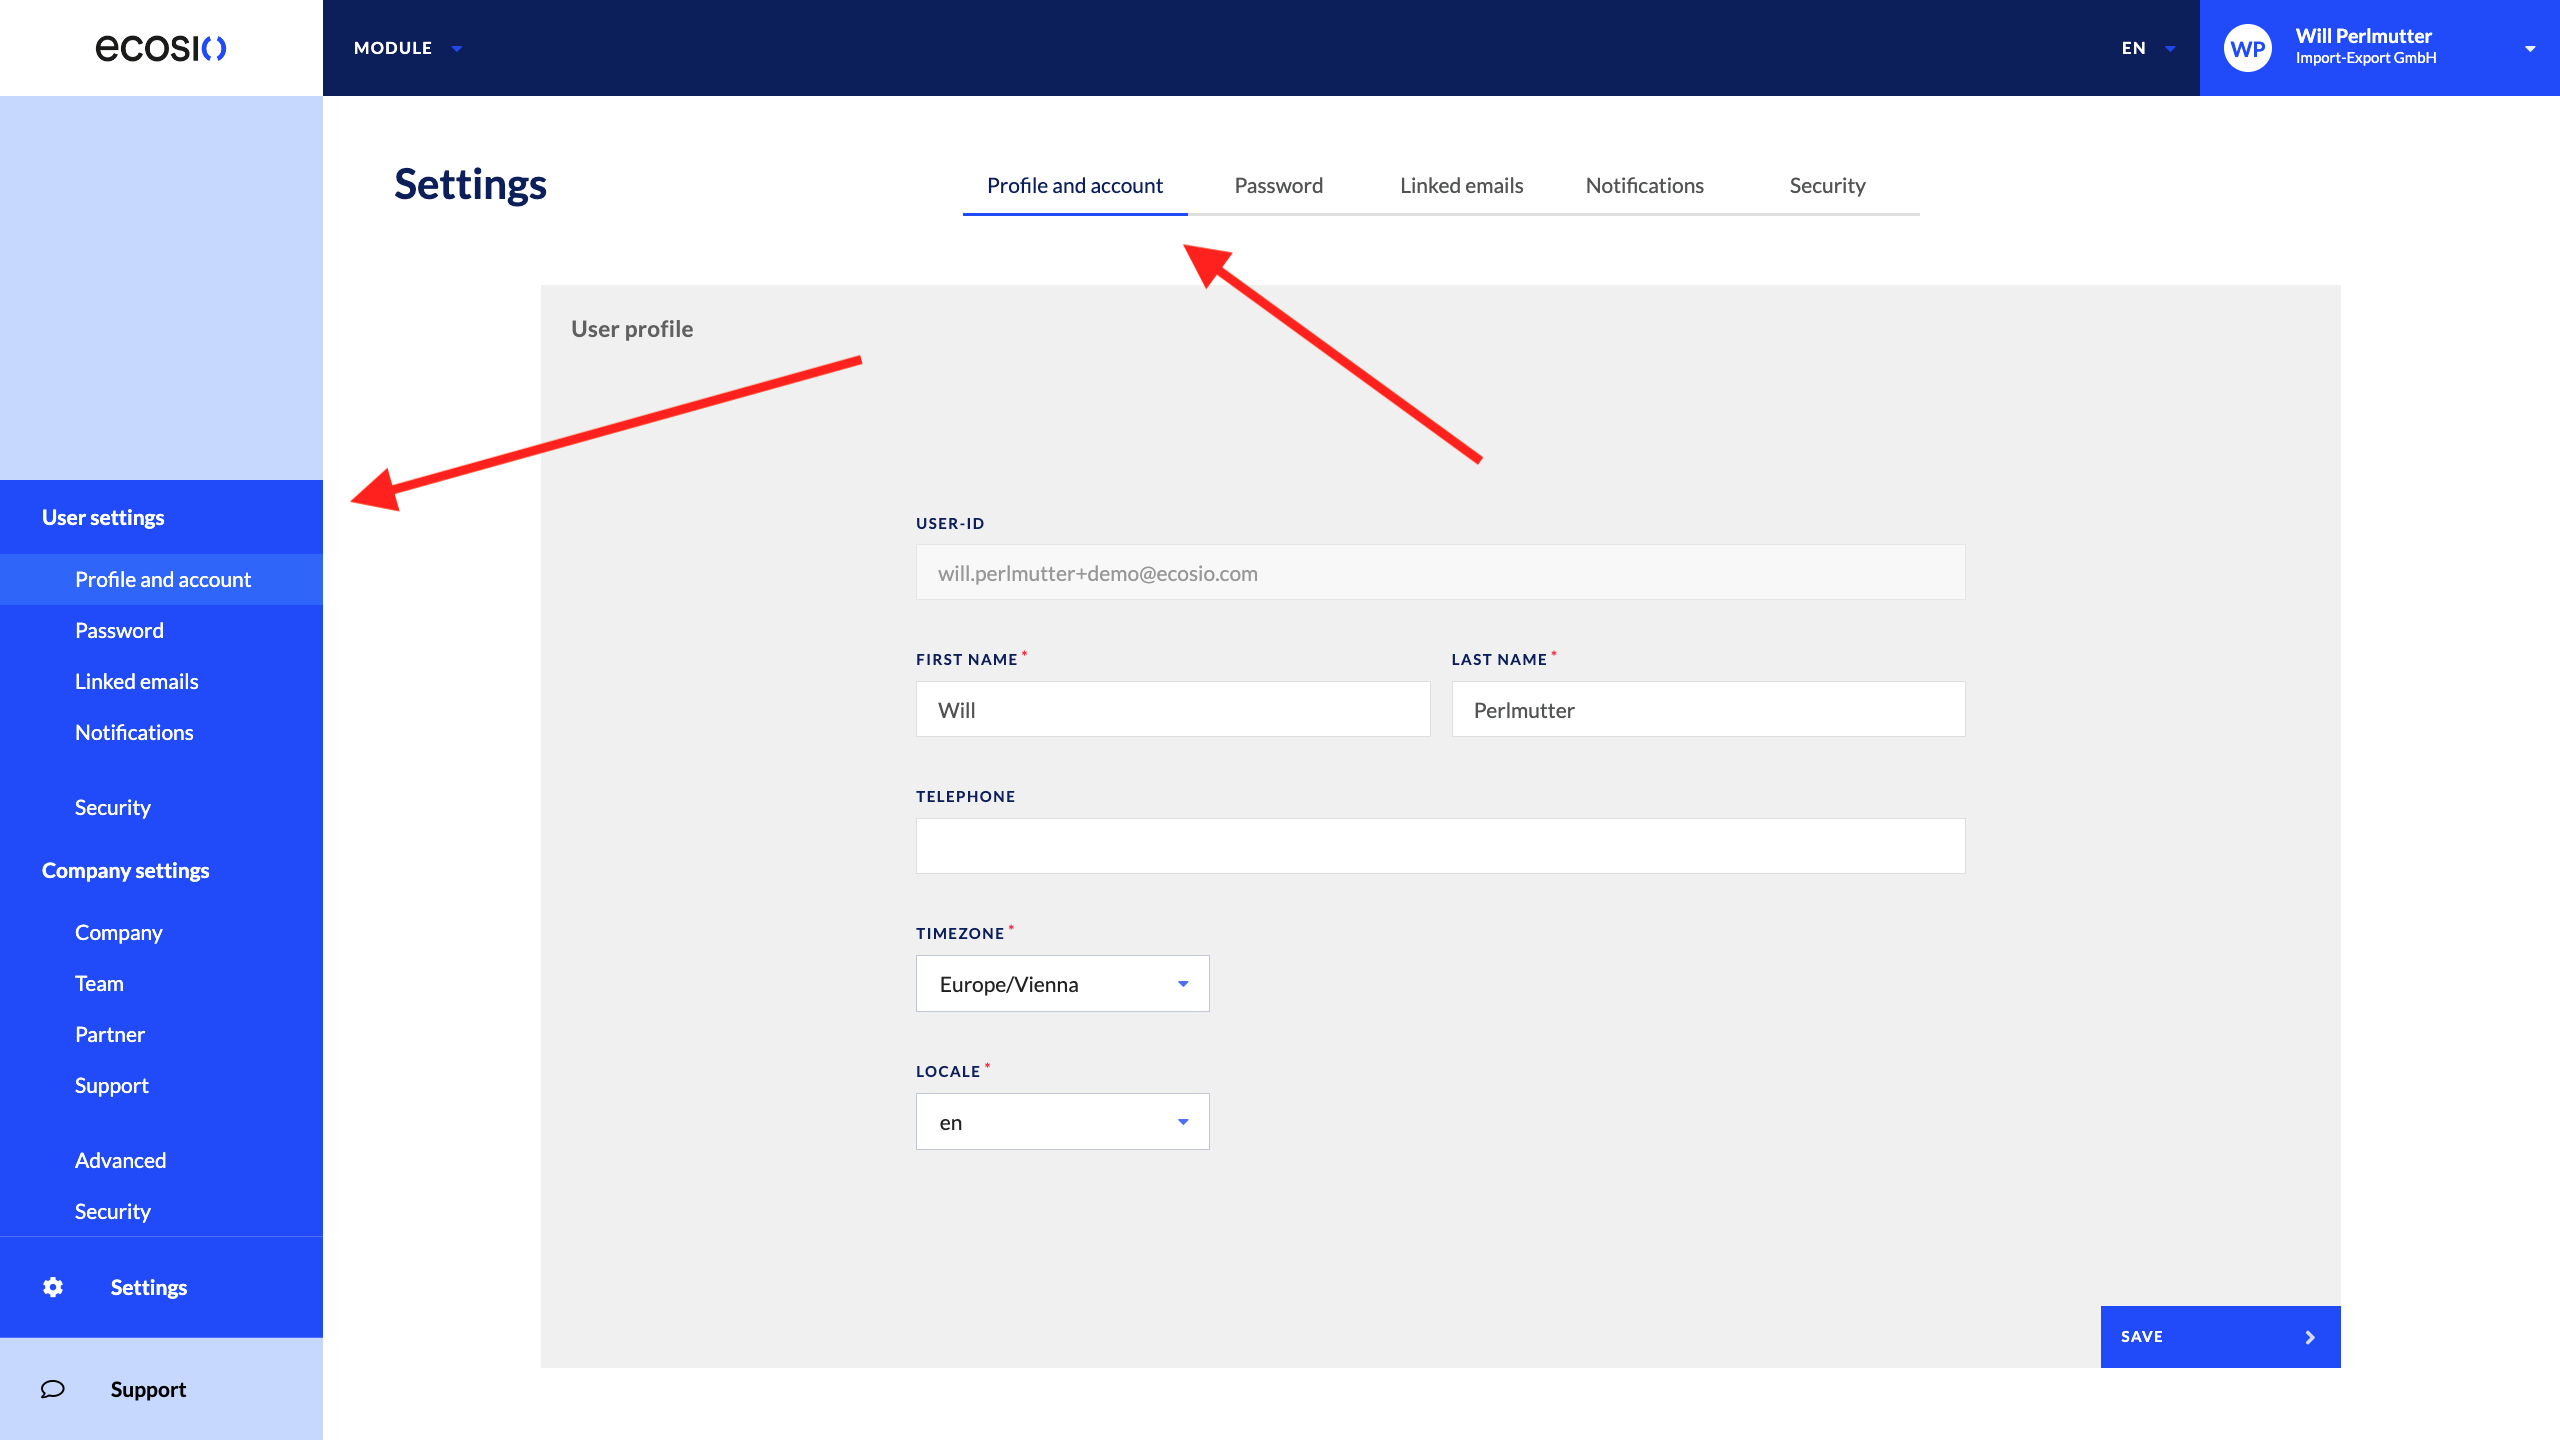
Both menu entries have the same functionalities, and can be used interchangeably.
Described below are all of the ways in which the User Settings can be used for a better experience inside the Monitor.
Profile and account
The main page shown in User Settings is “Profile and account”. It is shown below:
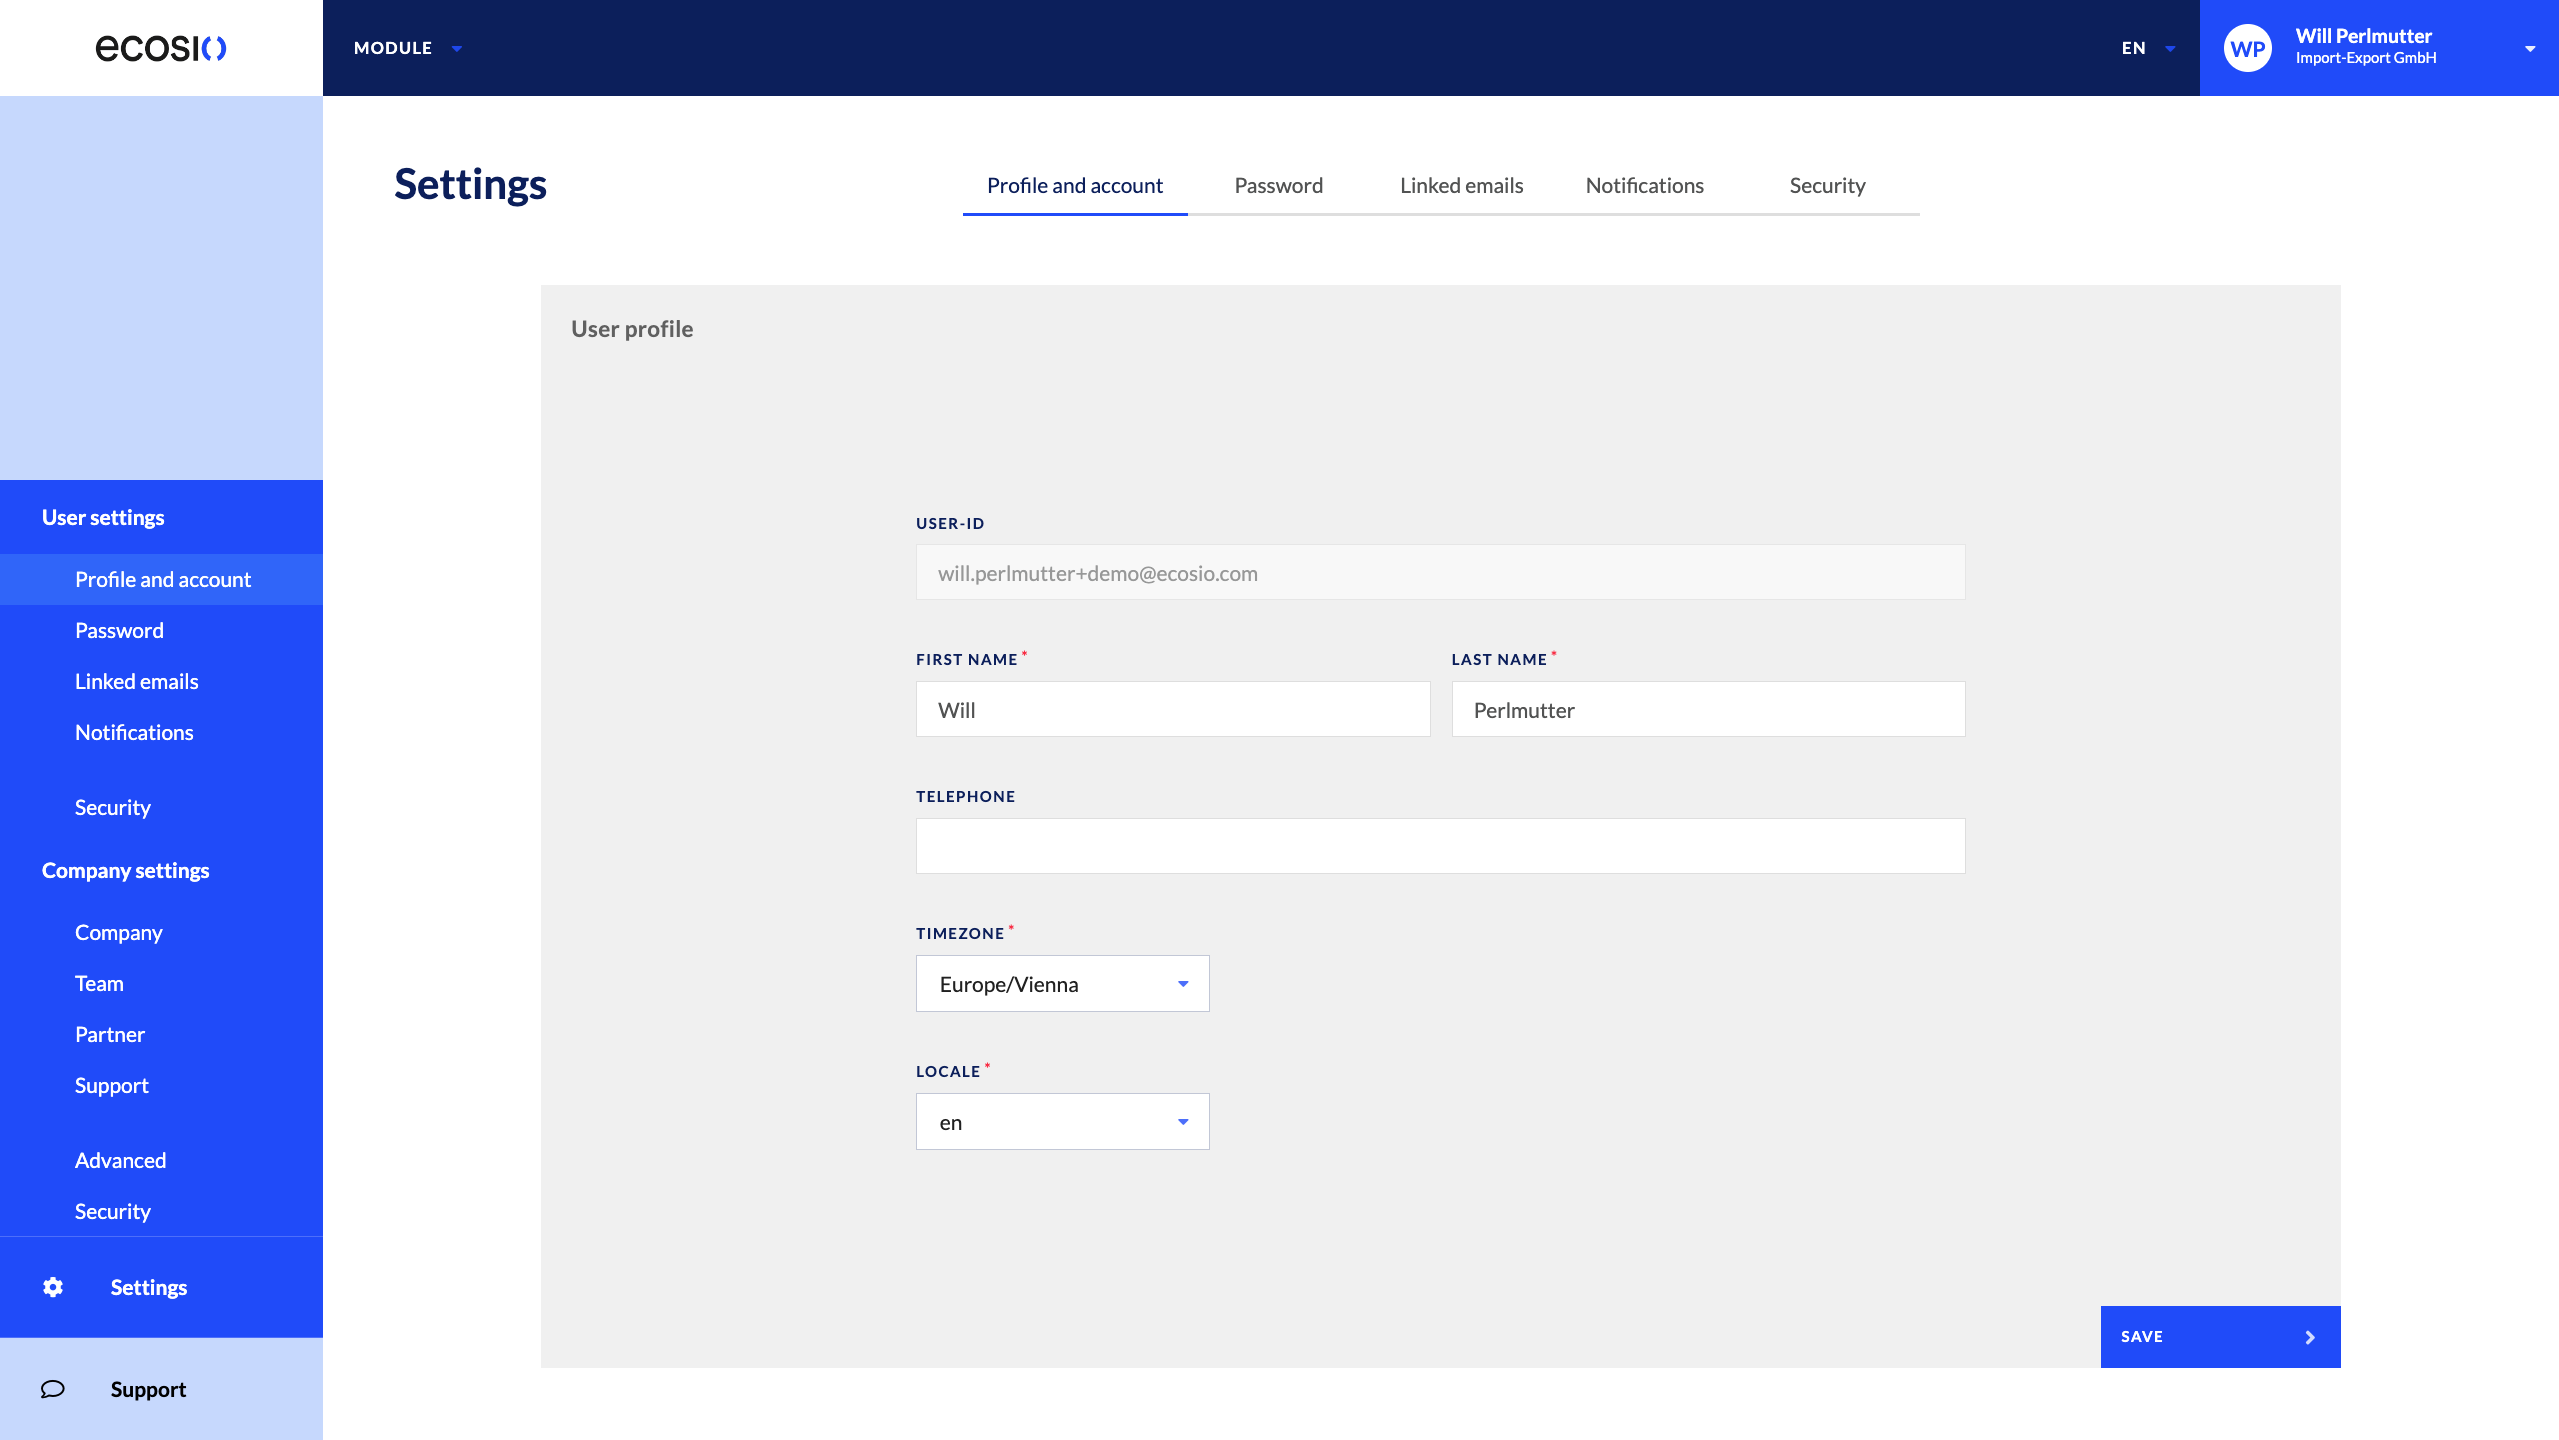
- User ID: The email used to set up your Monitor instance. This field is uneditable.
- First and last name: Your first and last name. These fields are editable and mandatory.
- Telephone: Your telephone number. This field is left blank at first, and is not mandatory to fill out.
- Time zone: The time zone in which you’re placed (and hence how the EDI operations visualised in the Monitor will adapt to e.g. messaging operations). This dropdown is mandatory to fill out.
- Locale: The default language the Monitor UI should operate in. Currently, we offer English and German as default languages. This dropdown is mandatory to fill out.
Password
The next tab within user settings is “Password”. it is shown below:
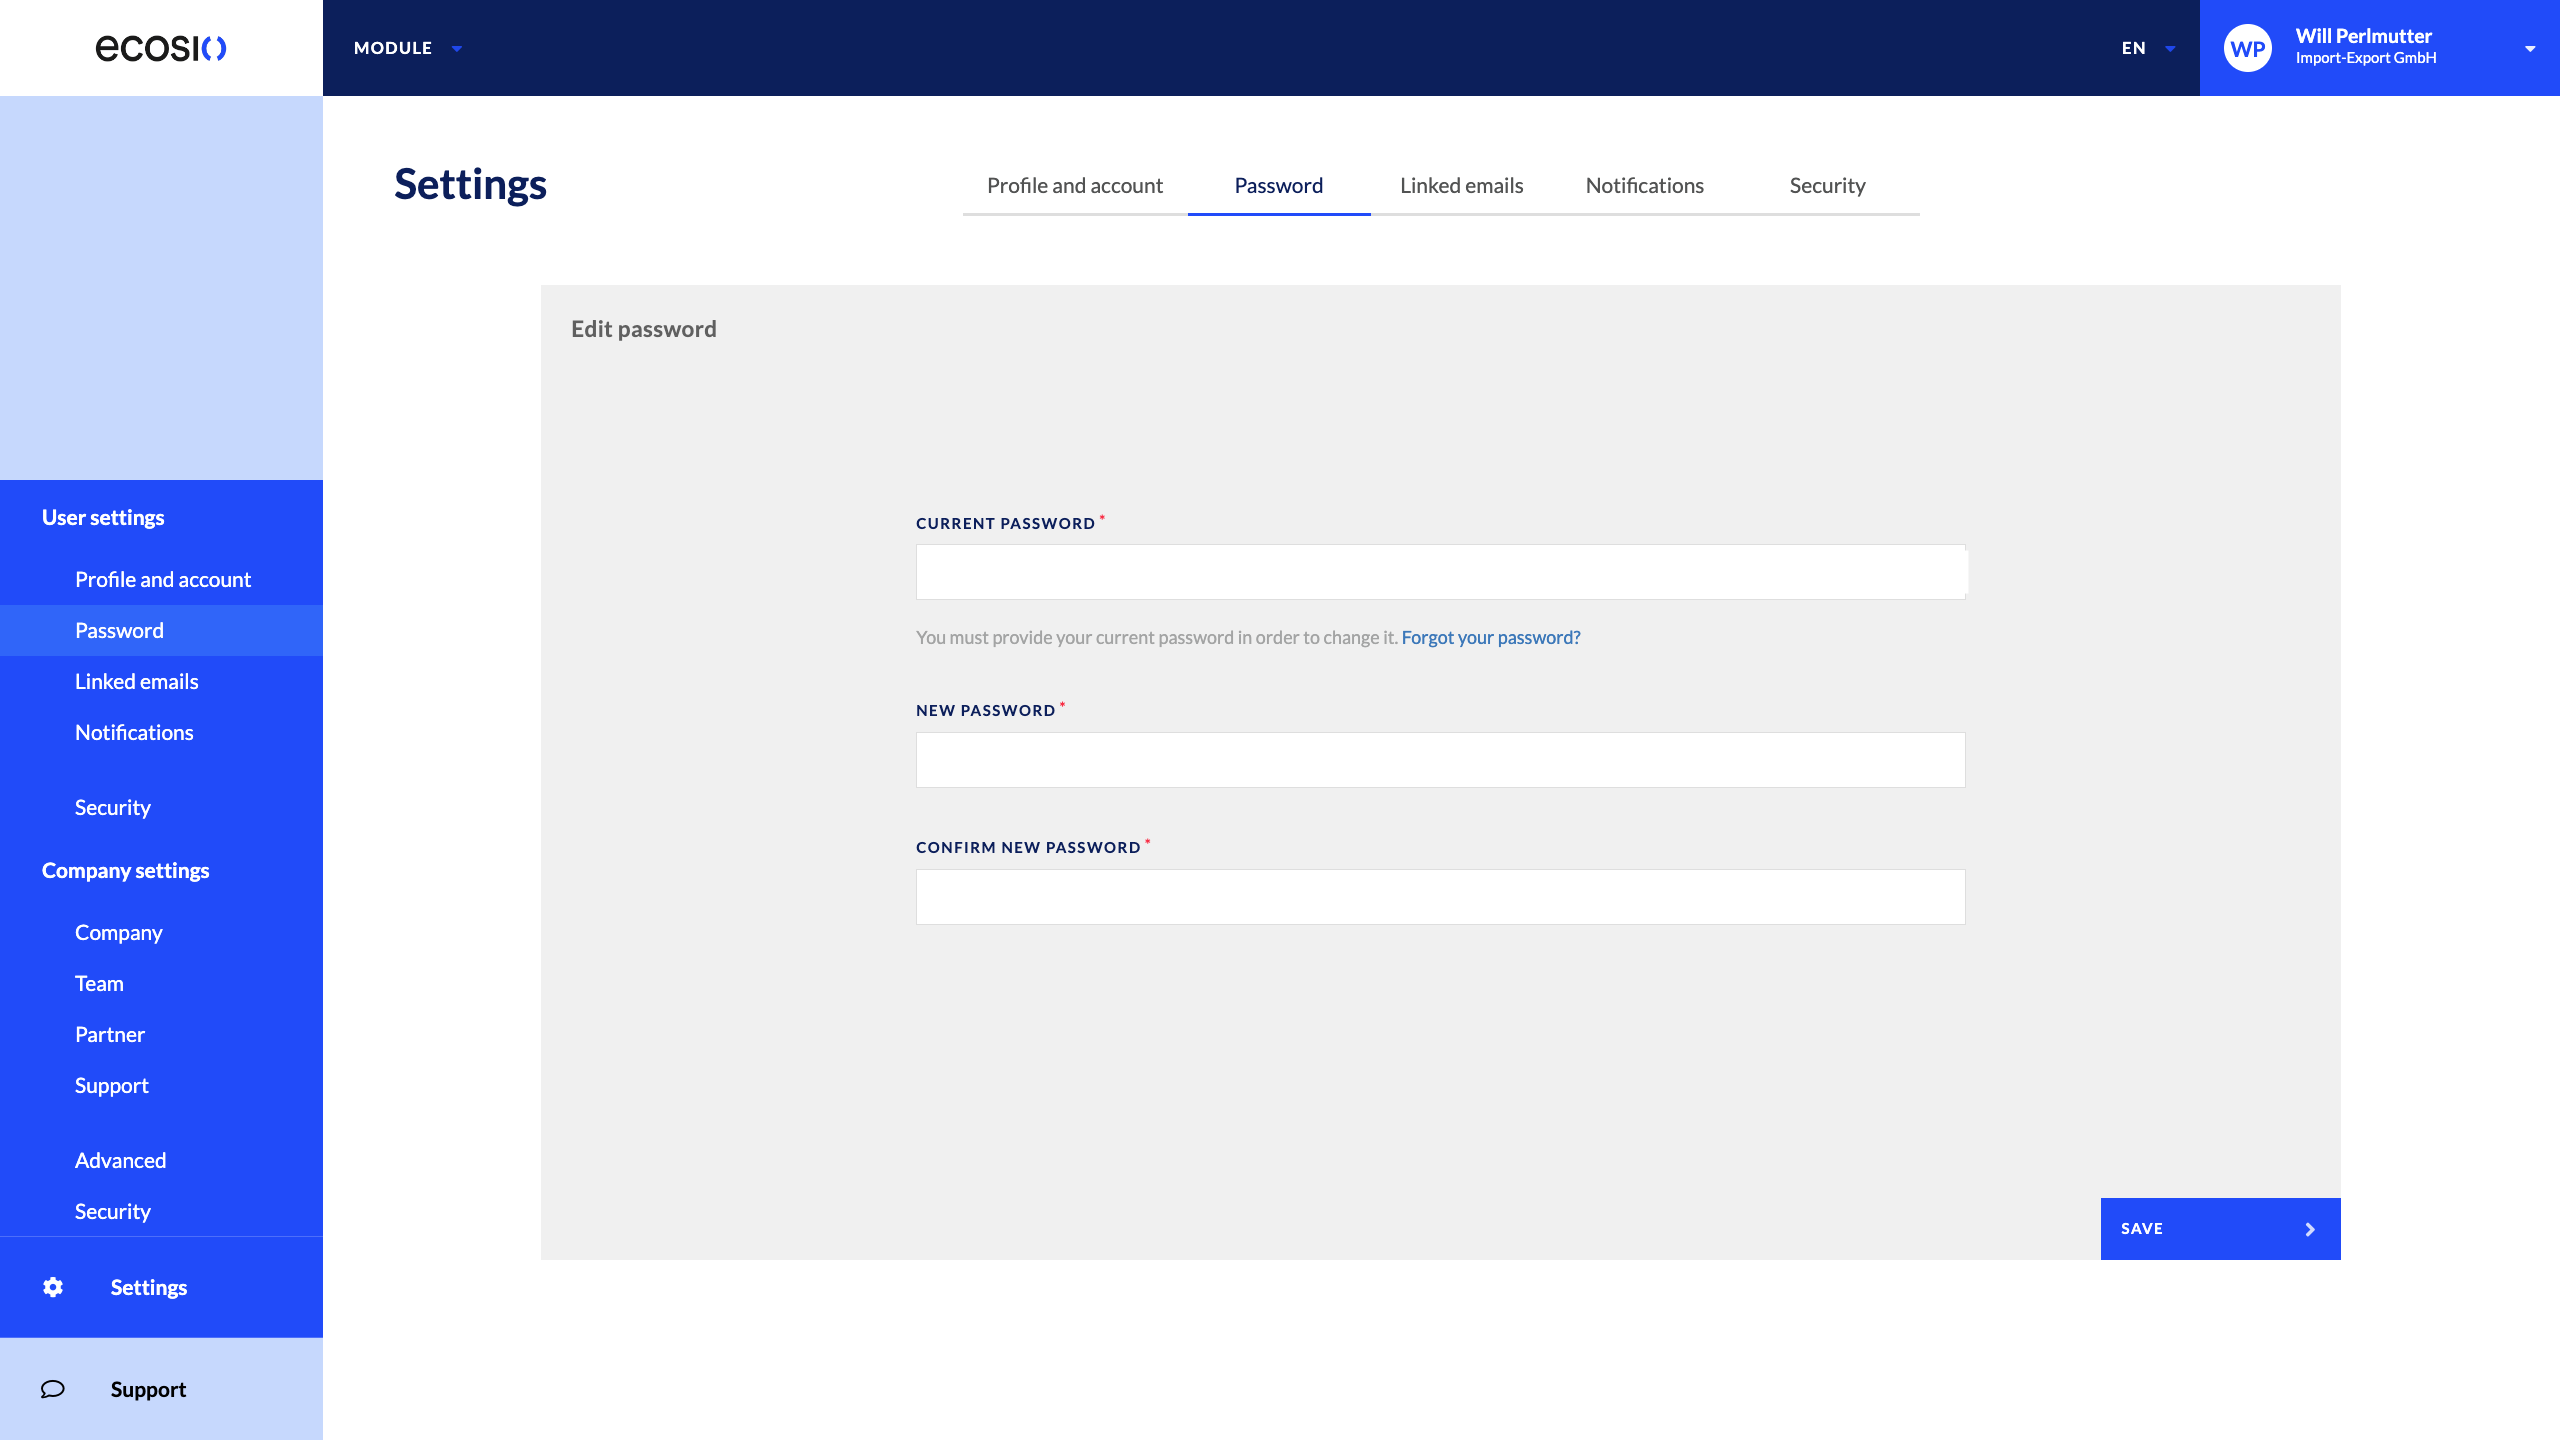
This section of the Monitor allows you to change or reset your password.
Change your password
In order to change your password, you can follow the instructions and input fields on the screen.
- Input your current password
- Input a proposed new password
- Confirm the new password by inputting it again.
- Select SAVE at the bottom right-hand corner of the page.
Forgot your password
If you forgot your password, you will need to have it reset by ecosio. The link users receive is valid for 1 hour. In order to do this, select the Forgot your password? link below “CURRENT PASSWORD”.
- Insert your email on the jump-off page, as shown below:
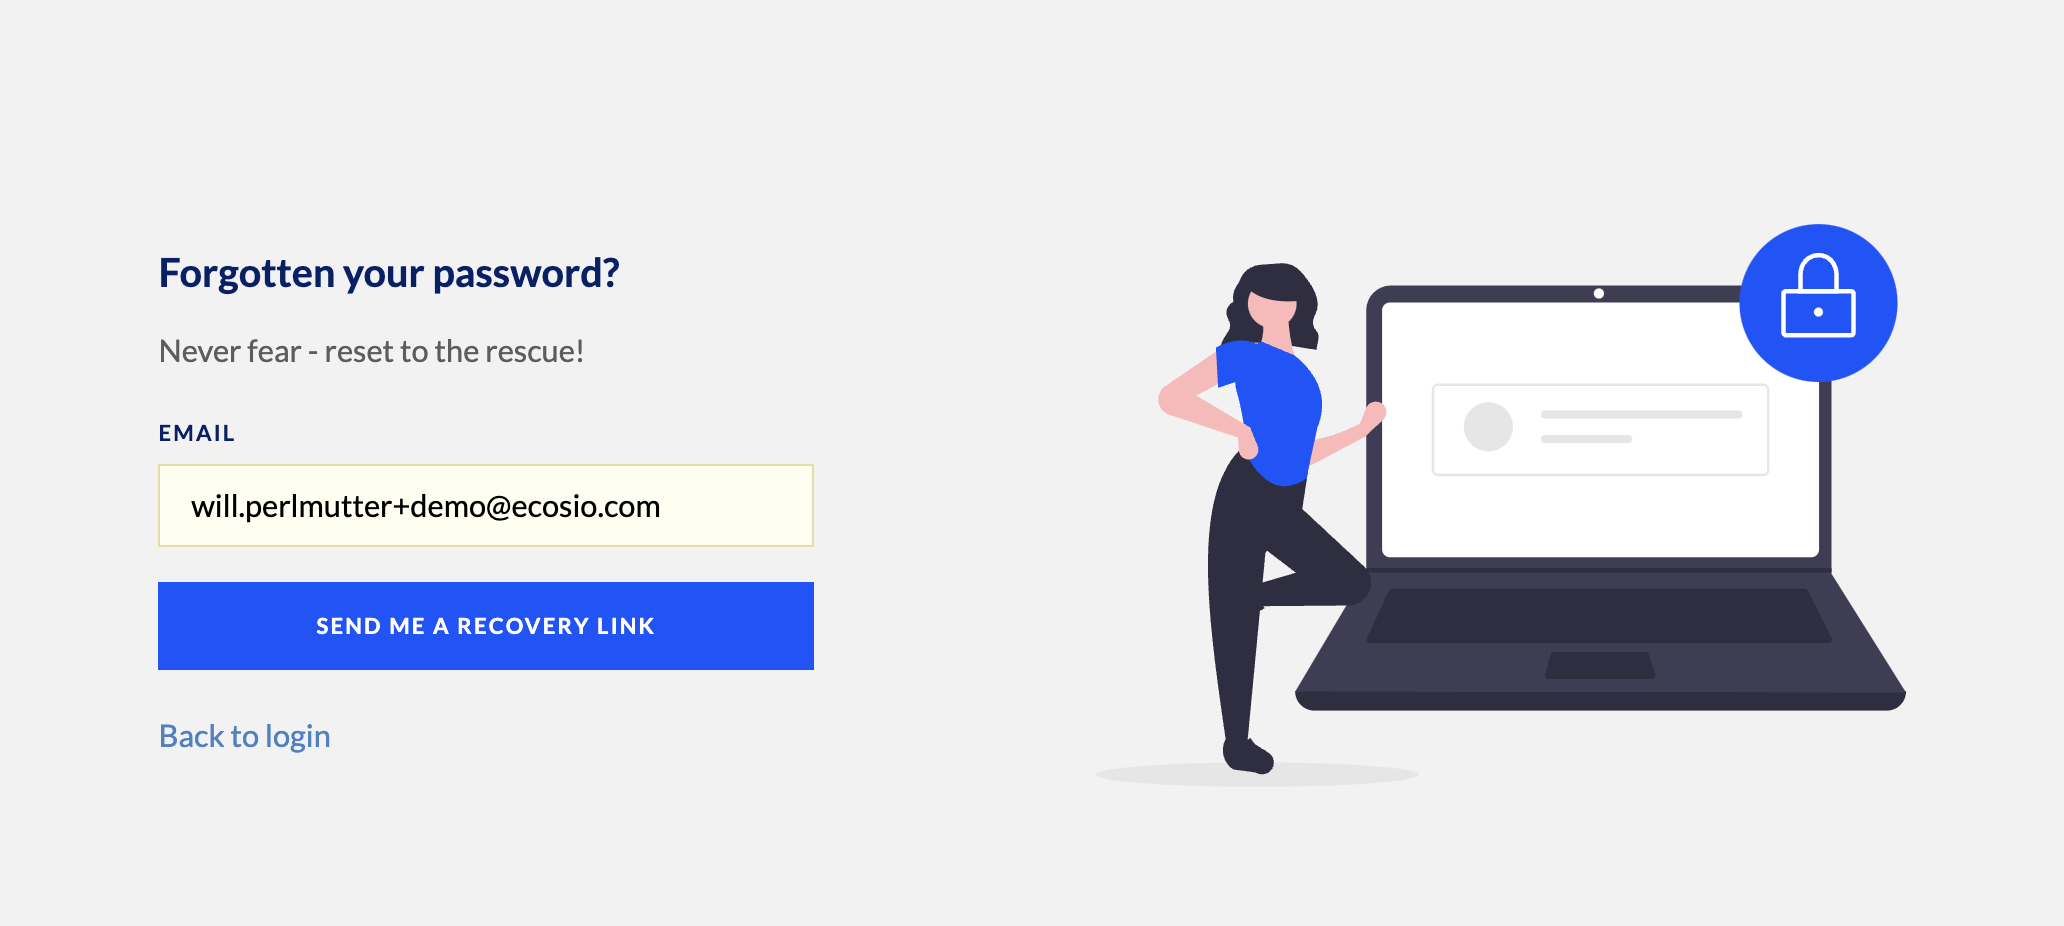
- Select the button that says “send me a recovery link”.
- From there, check your email for a password reset link.
- You’ll receive an email that looks like this:
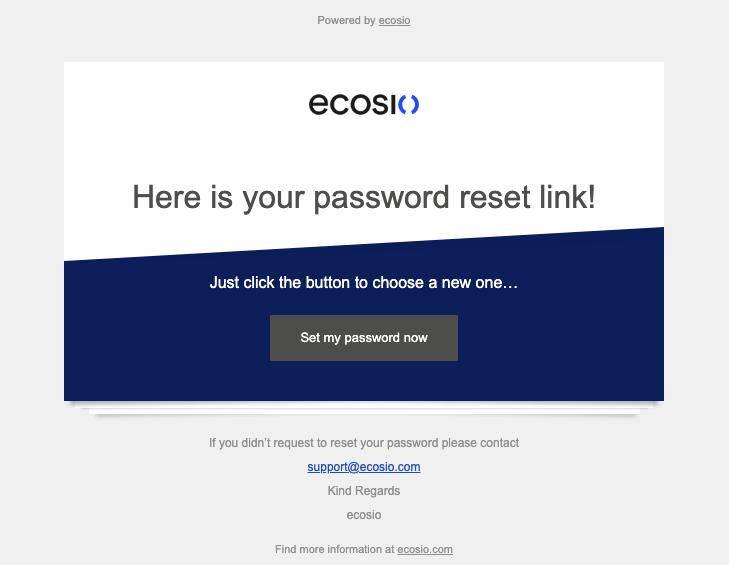
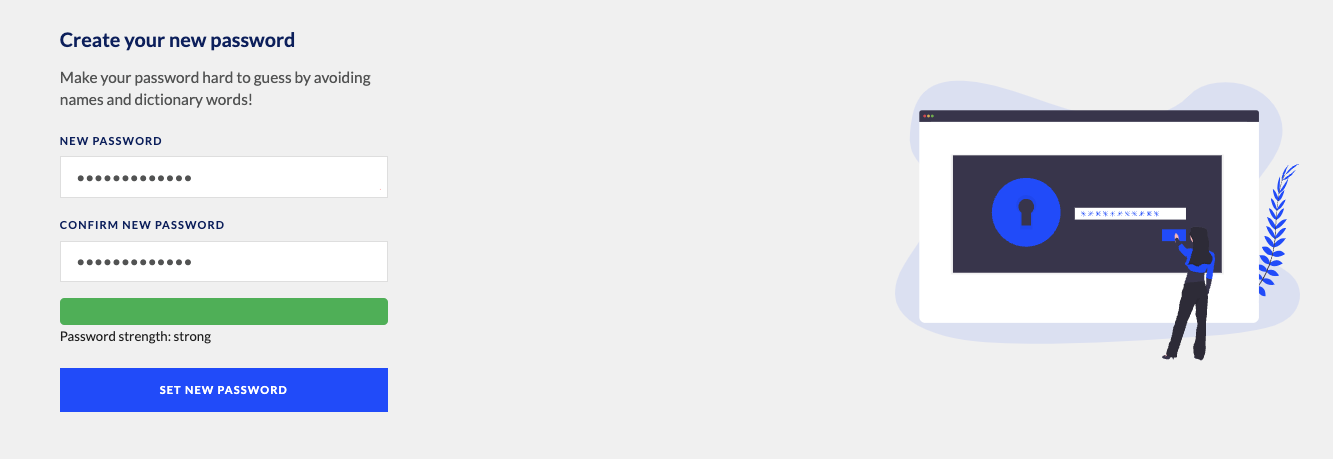
- Select the Set my password now button, and choose a strong password:
Linked emails
Within the Monitor, you can add email addresses (i.e., linked emails) that will be linked to your current user account. After activation, these email addresses can be selected for receiving notifications.
NoteThese email addresses are only for notification purposes and not for adding additional user accounts or password resets.
The page looks as follows:
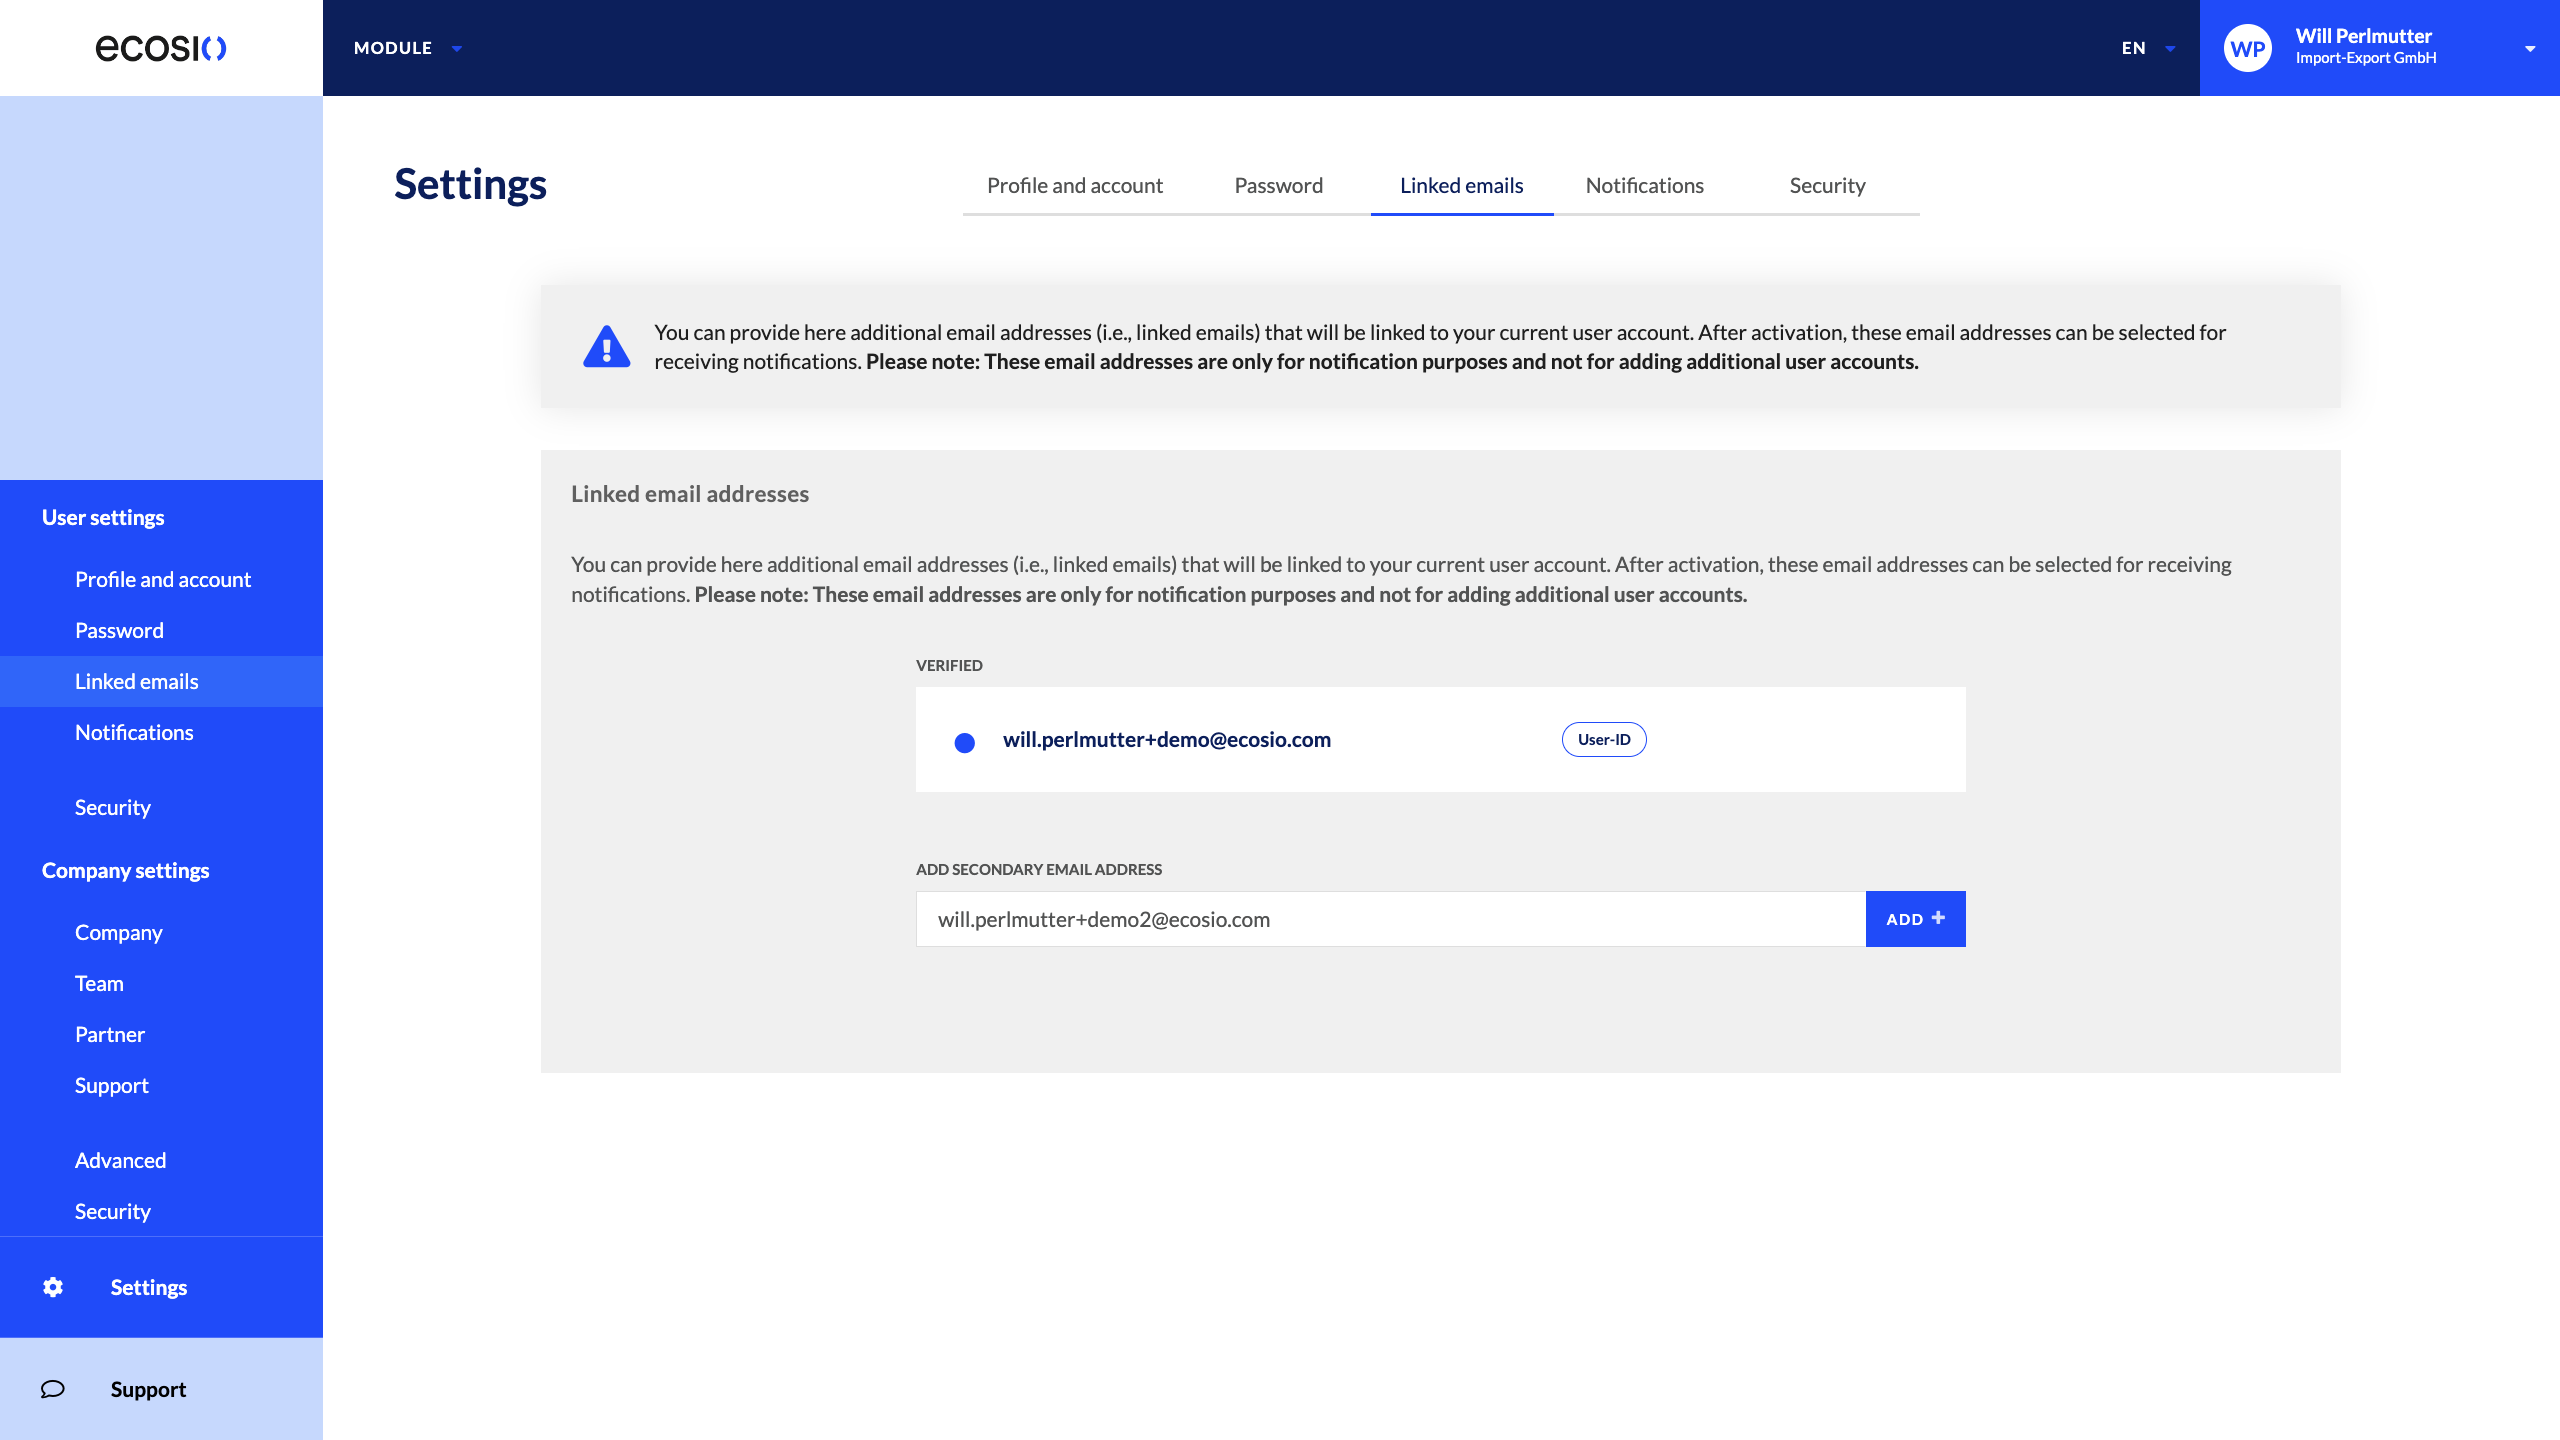
- After you add a secondary or tertiary email, as shown above, you will need to send a verification email to the secondary address, as shown below:
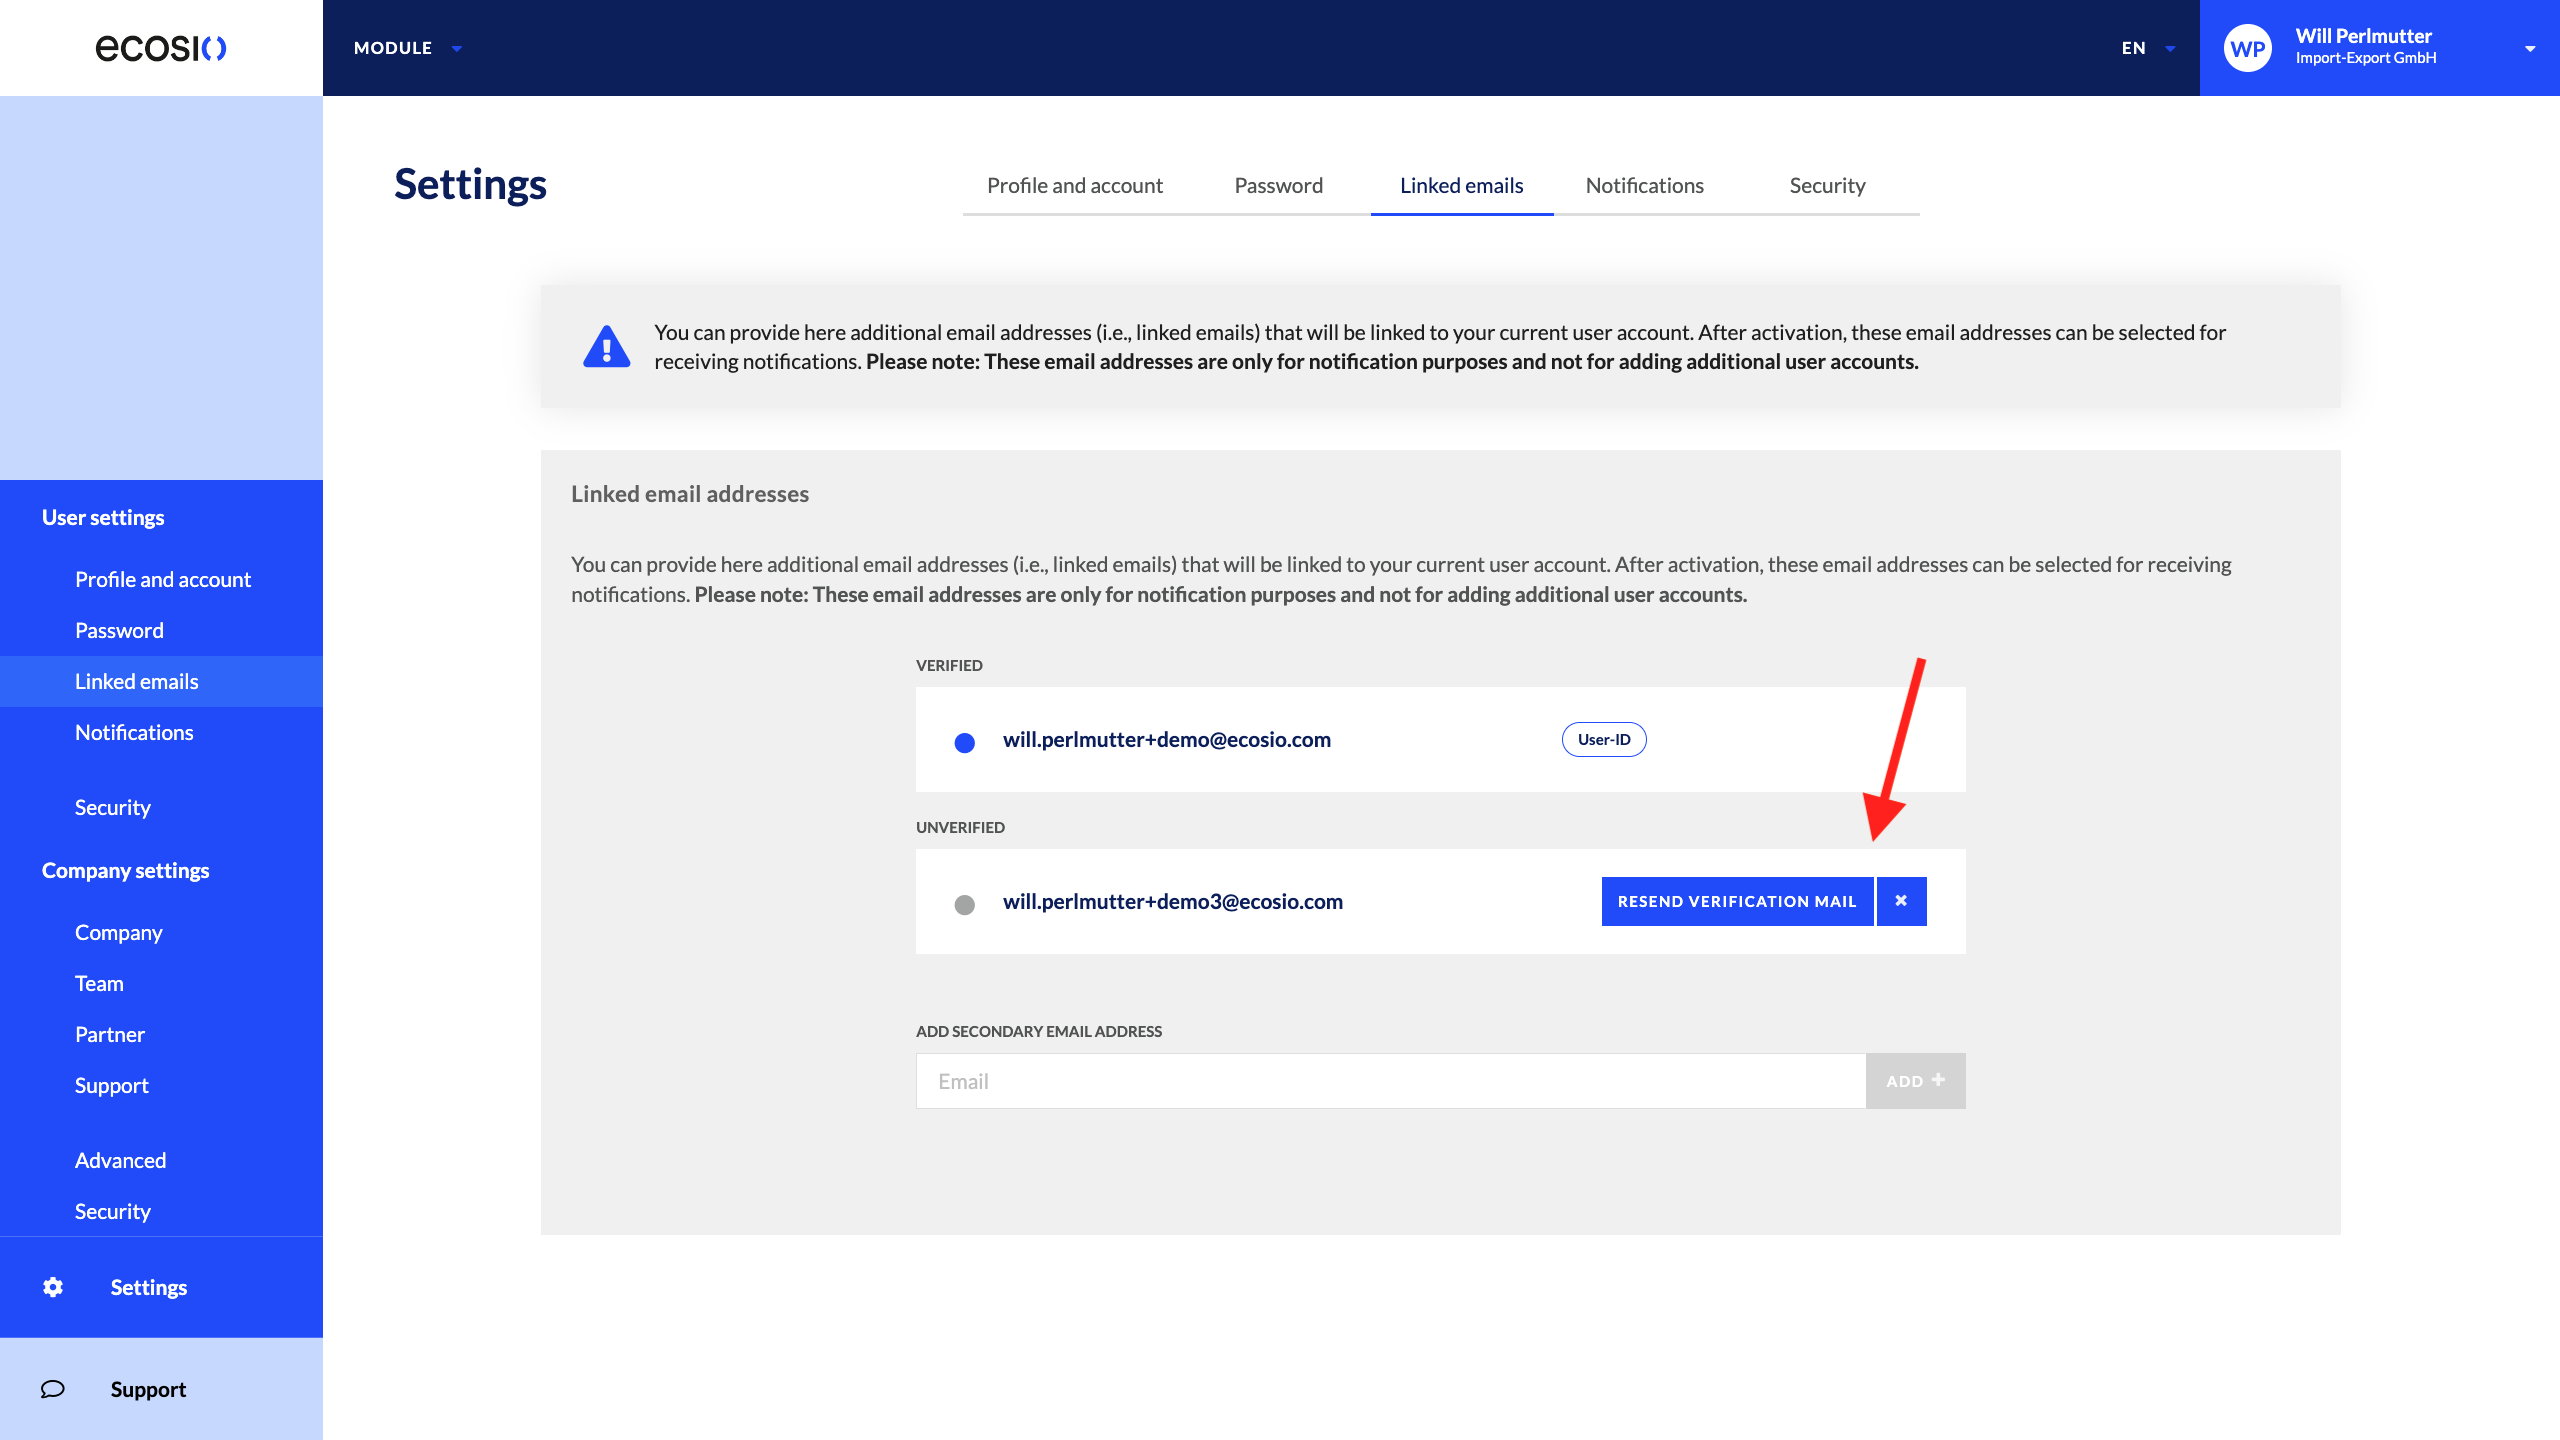
- After adding the appropriate secondary email, you will need to verify that this email can be used for notifications. You will receive an email that looks like this:
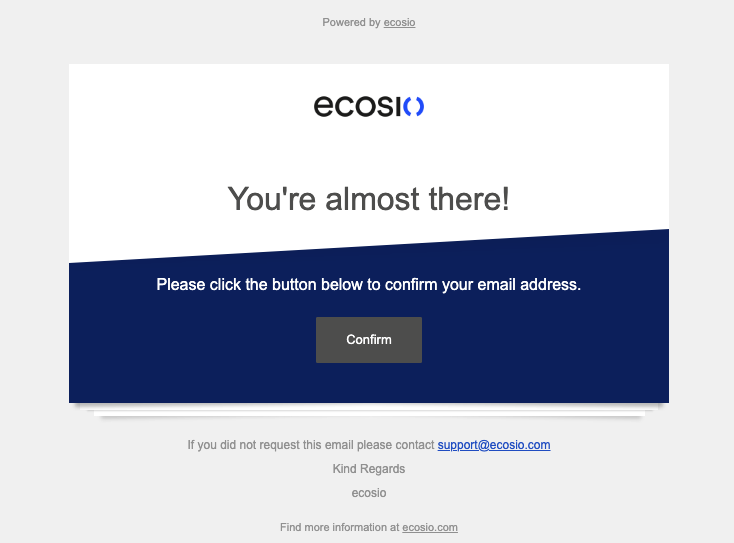
- Once clicking the “Confirm” button, you will have to verify your email address
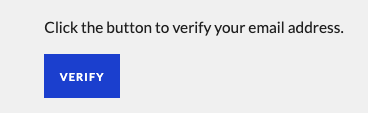
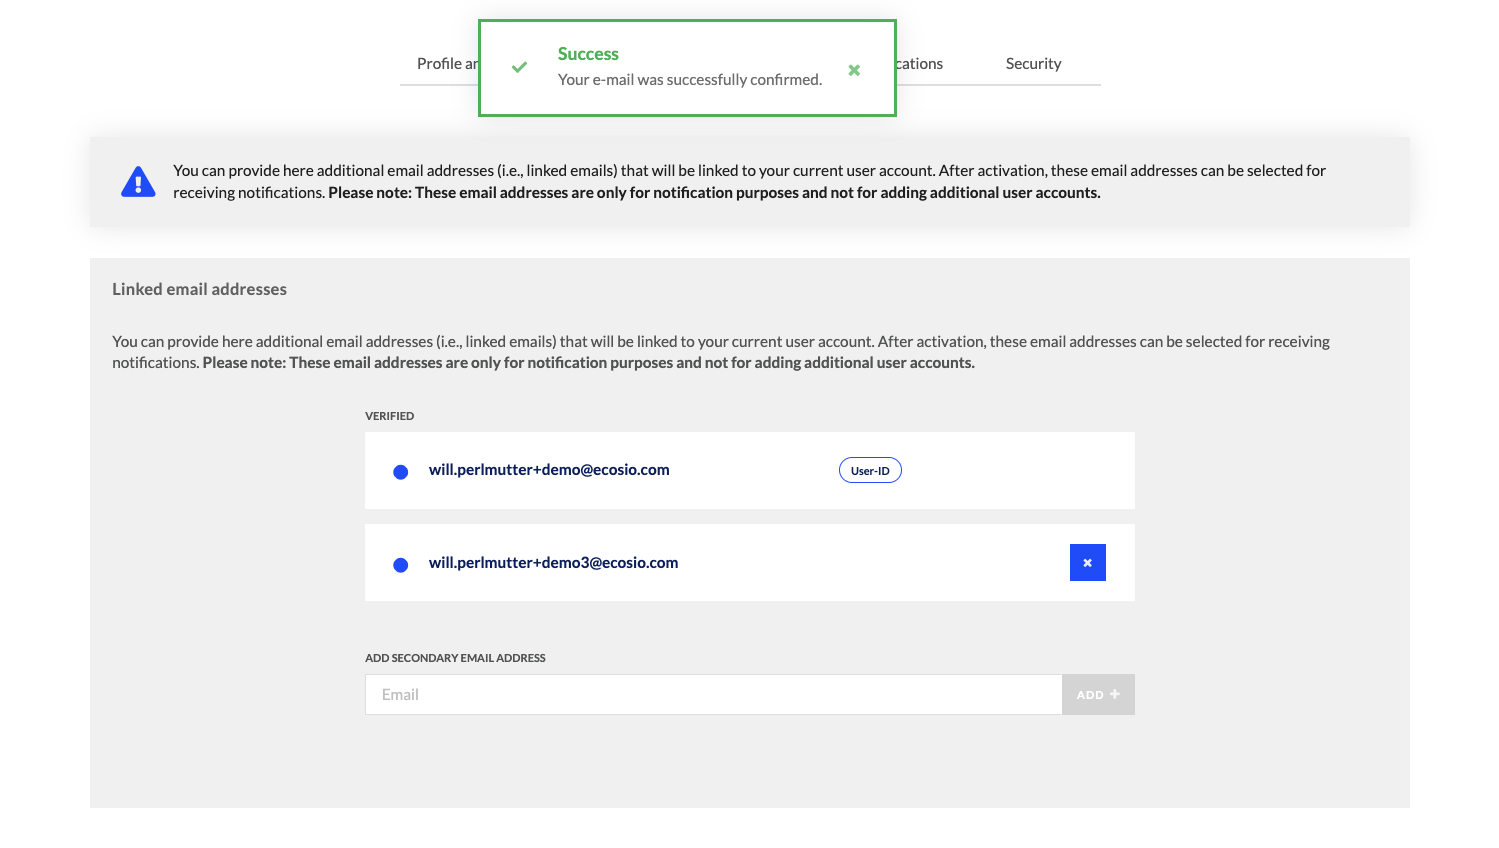
- You will see the green-bordered box inside the Monitor which confirms that your secondary email address is verified:
Notifications
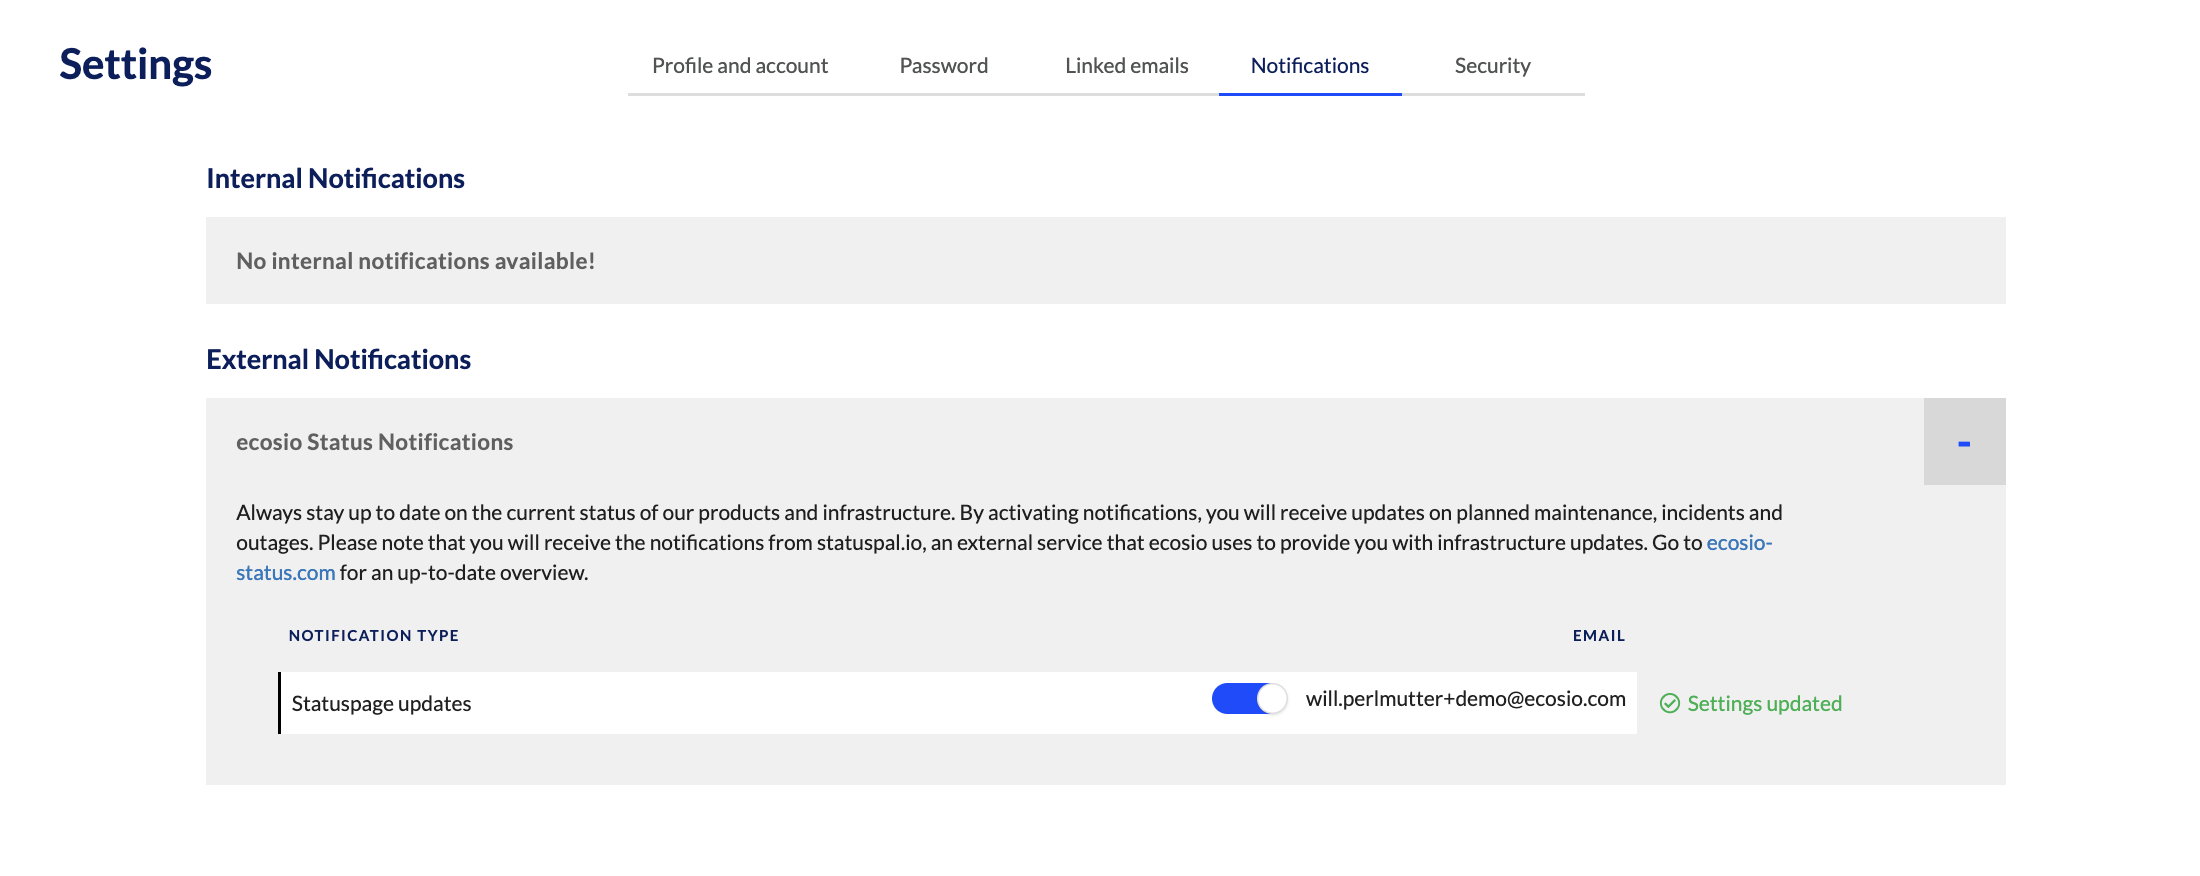
There are two types of notifications inside the Monitor: internal and external notifications
- Internal notifications: These are notifications generated by ecosio through platform events. However, currently there are no internal notifications available for exclusive monitor users; if however you use other ecosio products and services (e.g. ecosio.flow), such internal notifications will be made available.
- External notifications
These are notifications triggered by third party systems. Currently, we offer external notifications for an operational status page of all ecosio products and services.By clicking on the ecosio-status.com page, you will be redirected to the following page: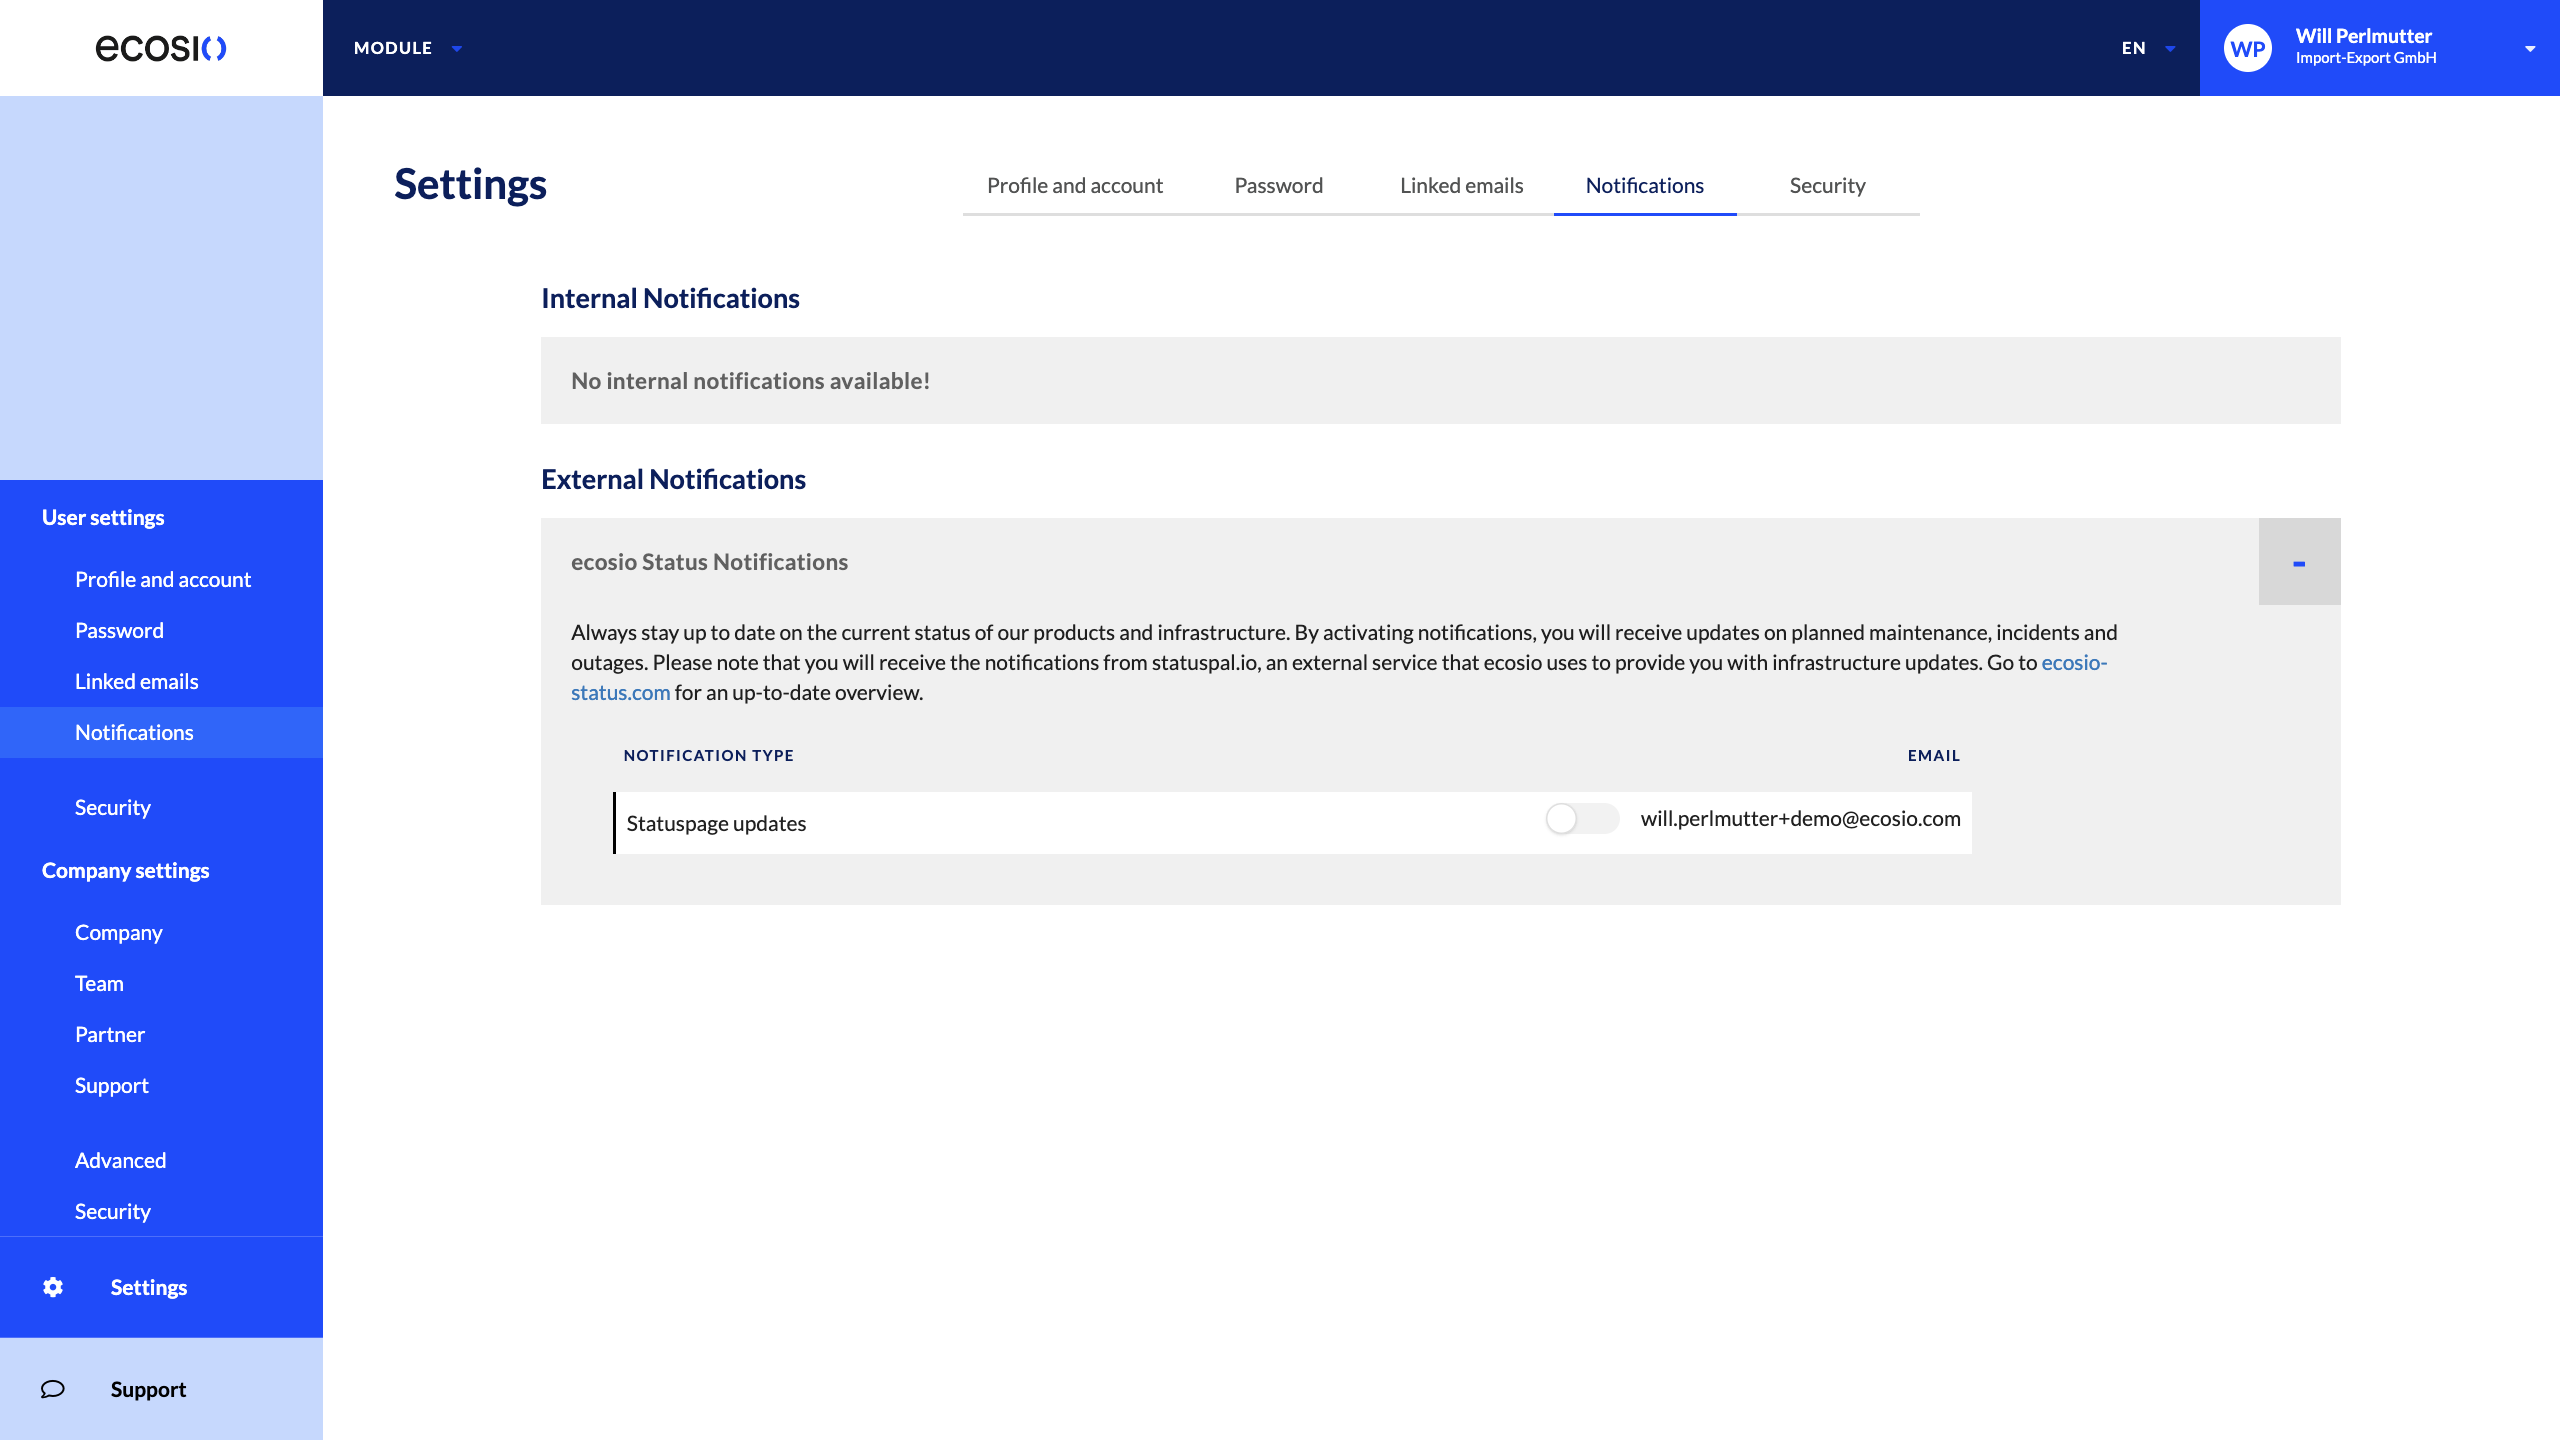 You can select the toggle, and receive status updates if anything changes in our systems operations: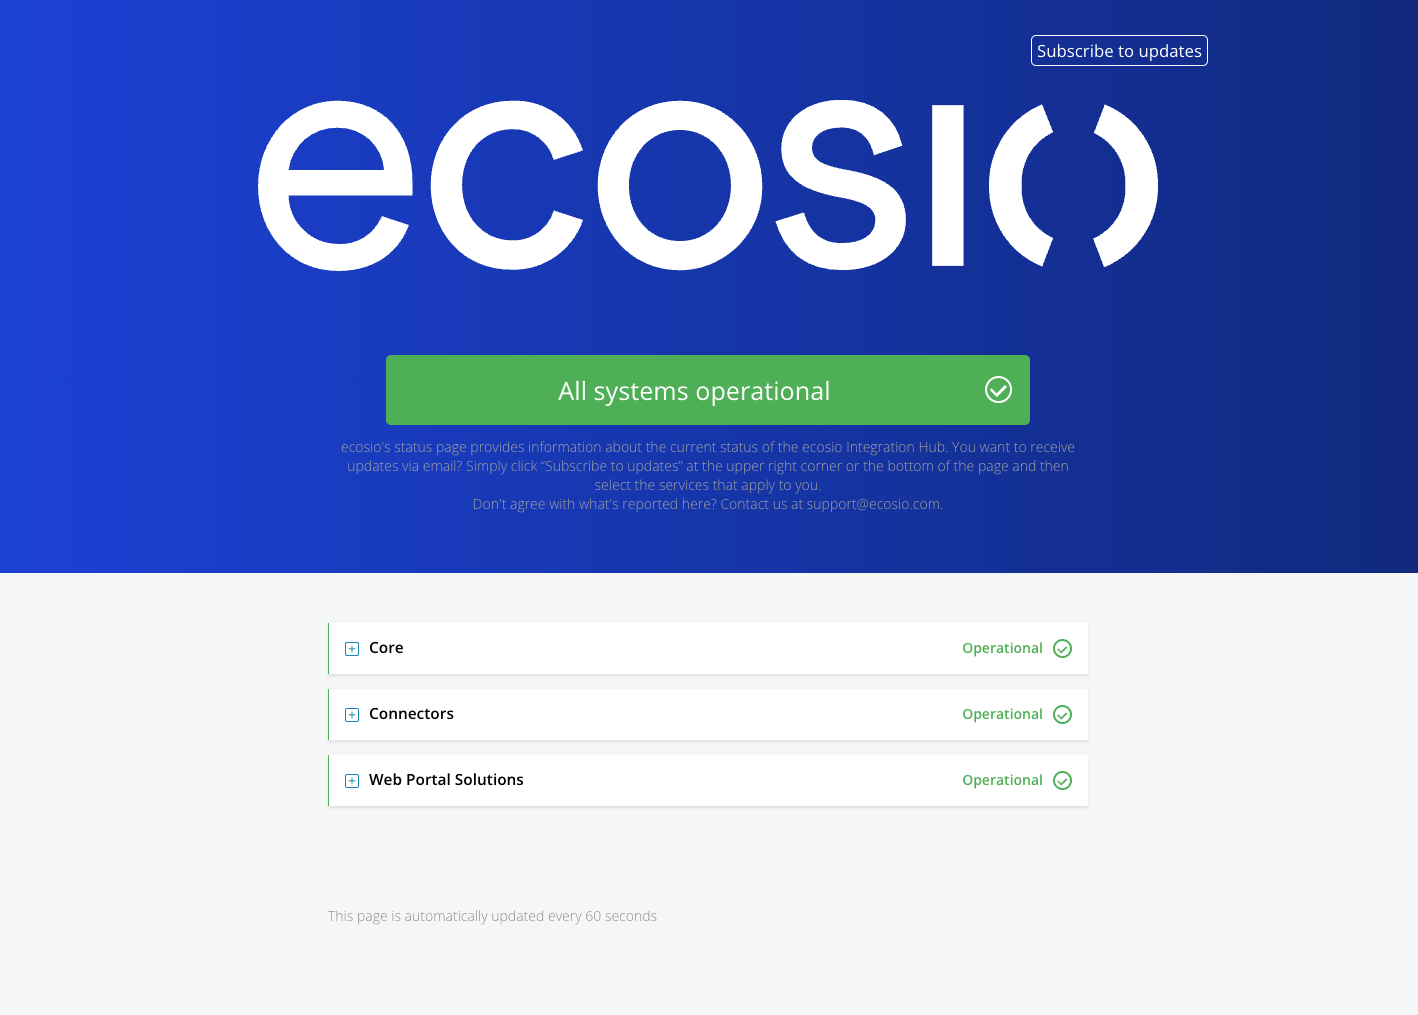
Security
In the “Security” tab of User Settings, you’ll be able to enable or disable multi-factor authentication (MFA). This is initially done by the Onboarding & Operations team manually. You must follow the described-below flow in order to enable and disable MFA:
- Select the toggle to either enable or disable MFA:
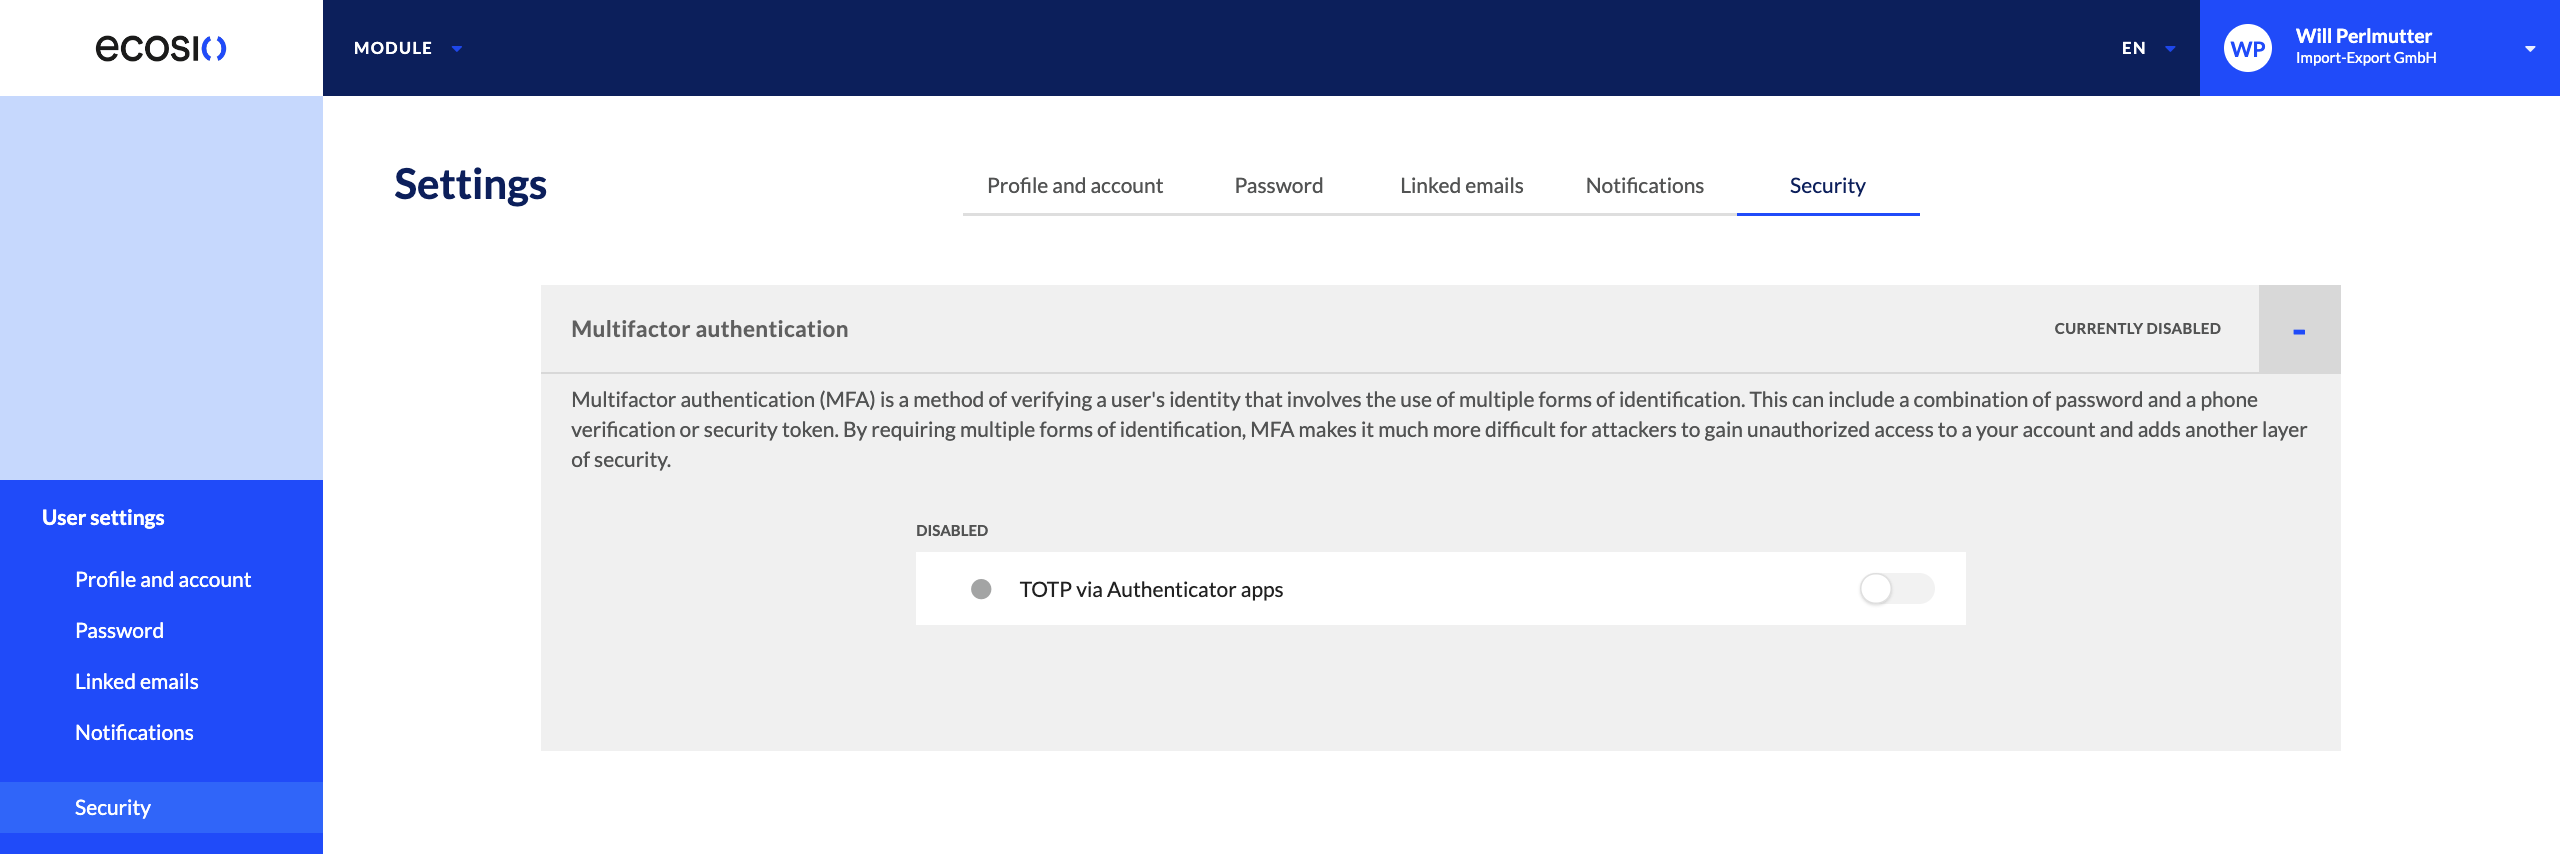
- Enter your current Monitor password:
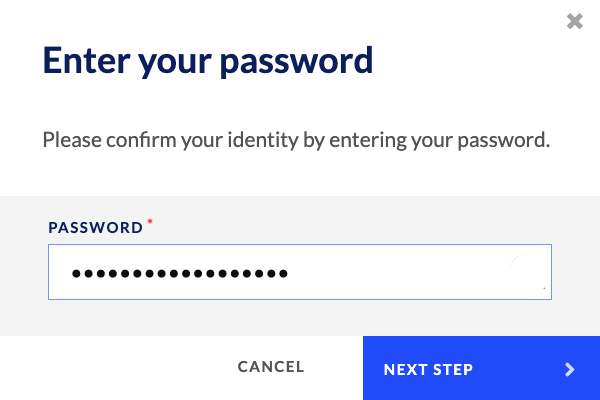
- Using an authenticator app, follow the necessary instructions to enter a verification code.
WarningOnce MFA is enforced for the entire company, all functionality within the Monitor is blocked until the user goes through the process of enabling MFA for him or herself. However if a company is using SSO, then MFA must be enabled by the company’s identity provider.
FAQs
How do SSO and MFA relate to each other when it comes to security and the Monitor?
- If a customer does not employ SSO, we offer MFA in the user settings section of the Monitor. It can be set as mandatory for all users of a customer; once enabled, all Monitor functionality is blocked for an individual user until the user enables MFA.
- If a customer does use SSO, MFA must be provided, enabled, and handled by the customer’s identity provider (IDP).
Updated 10 days ago